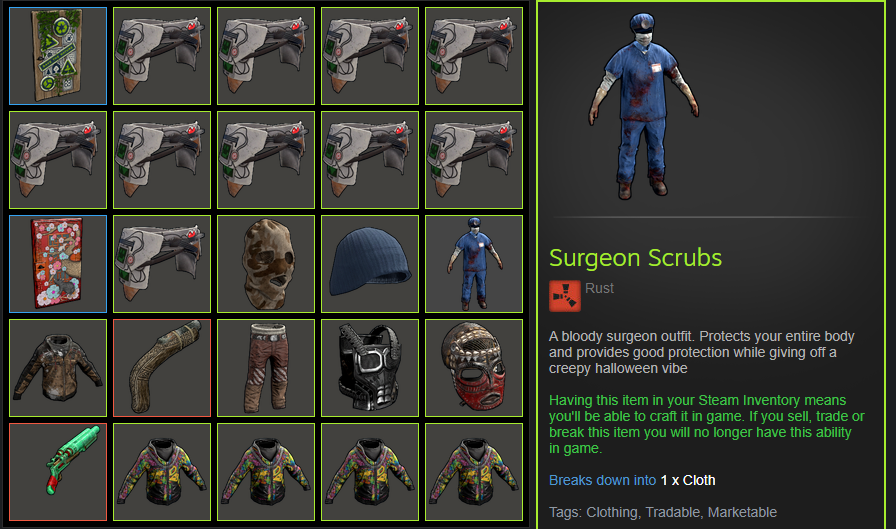
Do you want to stand out among other Rust players and customize your in-game experience? Many enthusiasts share the same desire. Rust skins offer both unique visual touches to weapons and items, as well as strategic benefits in specific situations. If you’re wondering how to quickly and effortlessly apply these skins to enhance your gameplay, read on for some insights!
Are you interested in personalizing your Rust experience and turning heads in the game? Great news! This blog post will guide you through the steps of applying Rust skins while discussing their benefits. By the end, you’ll be an expert of all things related to Rust skins.
TIP: Here’s how to get Rust skins.
How To Apply Rust Skins
To equip Rust skins and customize your weapons or items, we’ll walk you through five simple steps in this section. If you have new skins to load, start by restarting the game; then, access your inventory and select the item or weapon for which you want to apply a skin. Next, place it into a repair bench before finally applying your desired skin to complete the process with ease.
Let’s begin!
1. Restart the game (if skins are new)
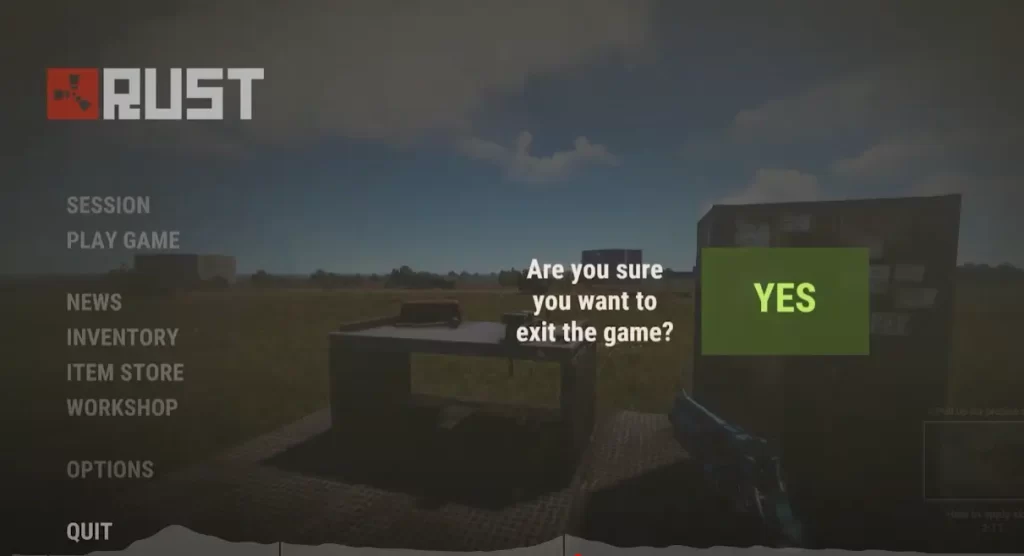
If you have just obtained new Rust skins, specifically some of the best ones, it is crucial to restarting the game. Restarting ensures, these skins are available in your inventory. This is a necessary step, even on a Rust console, as the game needs to refresh and identify any newly added skins.
Once the game restarts, you can use your new skins or trade them with other players. You’ll also receive random skin drops ready for use.
2. Go to your inventory
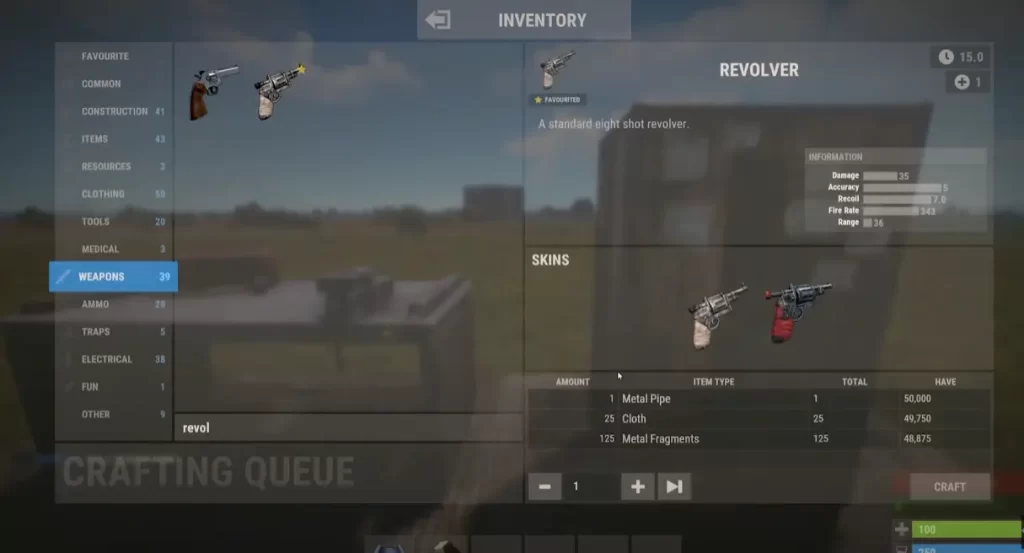
To apply a skin to an item in the game, you’ll need to access your inventory. After restarting the game, simply press the ‘I’ key on your keyboard to open it up and view all available items. Then select and apply the desired skin.
From here, you can easily navigate through your items and pick the one that catches your eye for a personalized touch with a Rust skin.
3. Choose item
Now that you’ve accessed your inventory, it’s time to choose the weapon or item to apply a Rust skin to. This decision comes down to personal preference and the type of skin you have.
If you’d like to know whether a specific weapon or item matches your desired skin, take a look at the skin’s description. That will tell you if they’re compatible or not.
4. Put the item into a repair bench
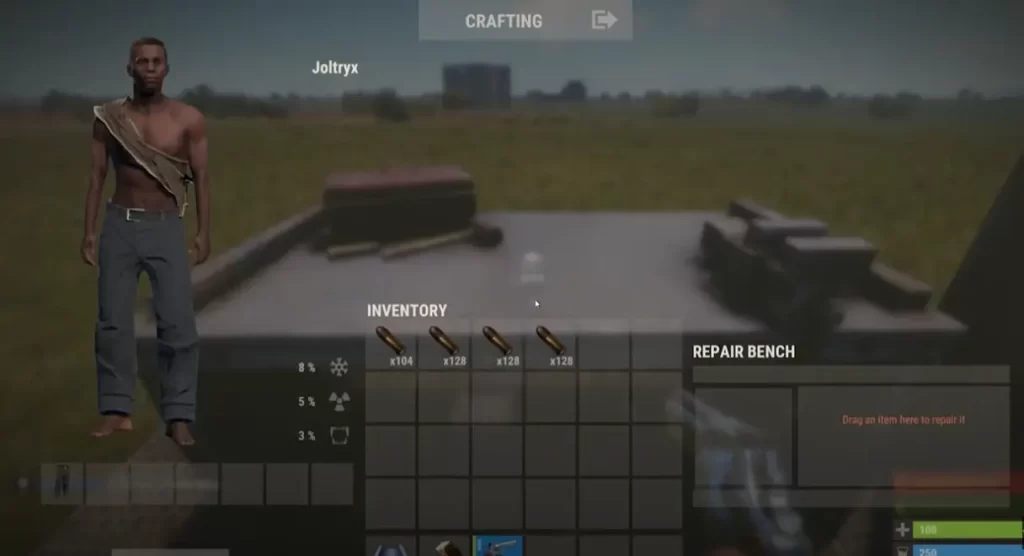
When you have selected your preferred weapon or item, head over to a repair bench to apply the chosen skin. In Rust, finding these benches is a piece of cake – just take a quick look around your local town or city, and you should come across one without much hassle.
To repair an item, follow these simple steps: First, locate the repair bench and open your inventory. Second, select the item you wish to repair from your inventory. Lastly, drag and
5. Select the skin you want and apply it
Finally, it’s time to apply your desired Rust skin to the selected item. While the item is in the repair bench, browse through the available skins and pick the one you want to use. Then, click the “Apply Skin” button on the repair bench, and your item will be updated with the new skin.
Applying Your Rust Skins
To apply Rust skins, you have two methods at your disposal: Crafting and utilizing a Repair Bench. Each method has unique benefits associated with it and specific usage scenarios that we will discuss in the following subsections.
Let’s dive deeper into the Crafting and Repair Bench methods.
Crafting Method
To create items with Rust skins already applied, players can use the Crafting method. In order to access this feature, simply select the desired item type and choose the corresponding skin from a list of options to apply it. However, it’s important to note that there is one limitation when using this method: default skins can only be set after respawning in the game.
This means that if you want to revert back to a default skin, you’ll have to wait until you respawn during gameplay.
If you want to add Rust skins when crafting items, the Crafting method is a handy tool. The only limitation is that if you’d like to switch back to default skins, respawning is your only option.
Repair Bench Method
Looking to apply Rust skins to your found items without any penalties or durability concerns? Well, the Repair Bench method allows you to do just that! Simply place the desired item in a repair bench slot, browse through available skins, select your favorite one and voila – drag it back into your inventory with the newly applied skin.
The best part?
This method is much more convenient compared to the Crafting method since you can easily customize items without having to create them from scratch.
To customize your weapons and gear without worrying about durability, consider using the Repair Bench method. This is a versatile and convenient option that allows you to apply Rust skins to found items easily.
By doing so, you can modify your items with little hassle and create a unique sense of style in no time.
Summary
Looking to add a unique touch to your gameplay experience and express your personal style? Rust skins are just the way to go! You’ve now learned about the advantages of both Crafting and Repair Bench methods, used for applying Rust skins. So why wait? Dive right in and elevate your in-game style with Rust skins today!
Now that you have gained this knowledge, it’s time to make a splash in the exciting world of Rust skins and ramp up your gaming experience with personalized and eye-catching gear. So let’s get started! Enjoy the process of customizing to your heart’s content.
Frequently Asked Questions
To add skins to Rust from Steam, follow these easy and straightforward steps: First, launch Steam. Then, select “Community” and click “Market”. After that, simply enter “rust” into the search bar and proceed through the item list.
Once you’ve found the skin you want, click “Buy” to agree to the Steam Subscriber Agreement.
If you want to apply a Rust skin from the Workshop, it’s simple. Head over to your inventory and choose the weapon you’d like to customize. Click on “Craft” button, and you will be taken to the Skins section, where all available skins for that particular weapon are listed. Select your preferred skin and craft away – easy peasy!


