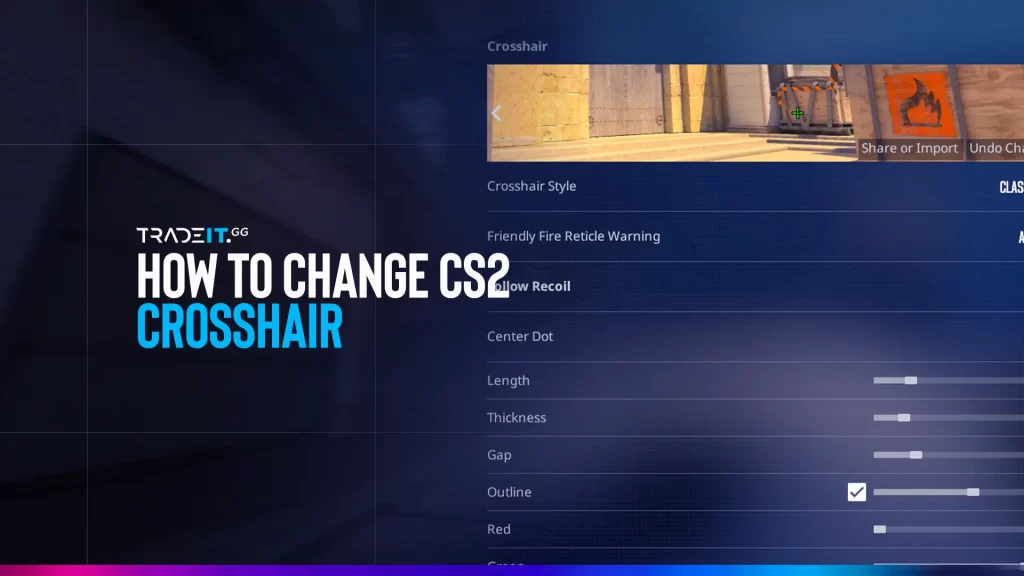
In CS2, your crosshair can greatly improve your aim. Discover the best settings to match your style and create the ultimate crosshair for your needs.
Table of Contents
Understanding Crosshair Settings in CS2
Customizing your crosshair settings can significantly impact your performance in CS2. Adjust aspects such as style, size, and color to enhance your aiming and precision, providing you with a competitive edge.
1. Crosshair Styles
CS2 offers various crosshair styles for players to choose from:
The standard CS2 crosshair with moderate size and visibility for general use.
A fixed crosshair that doesn’t move when shooting, preferred for consistent aiming.
A crosshair that expands when moving or shooting, giving visual feedback on accuracy.
While Default styles are suitable for beginners, more experienced players often prefer Classic Static or Dynamic styles for better-aiming precision. Test different styles to find what suits you best.
2. Crosshair Colors
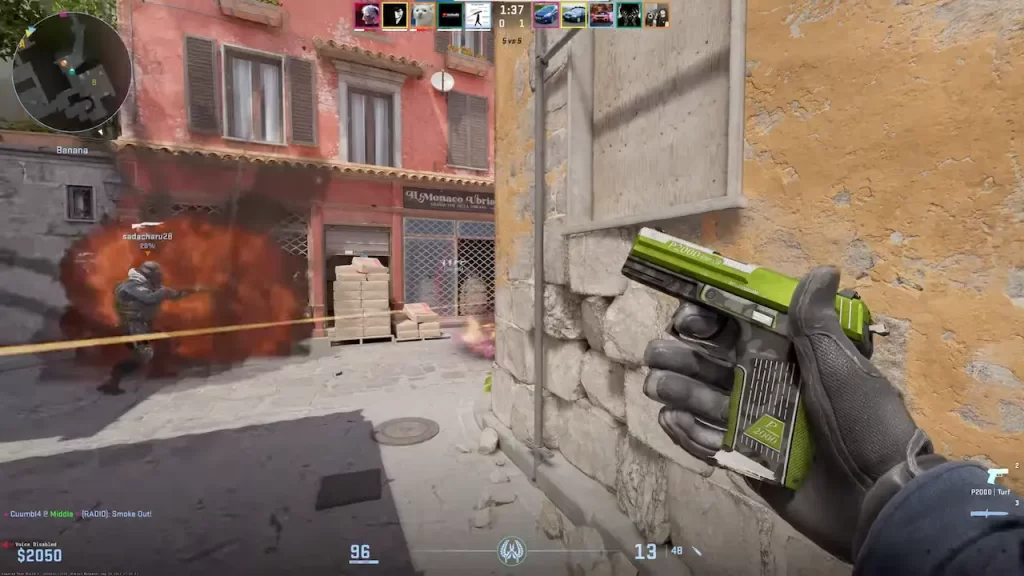
Selecting the right color for your crosshair is crucial for visibility. The right color improves contrast against different map backgrounds, enhancing your accuracy. Experiment with primary colors to find the optimal balance of visibility and contrast.
For example, if you set all the values to 0, the crosshair will appear black. Conversely, adjusting them to 255 will make it white.
By playing around with different colors and levels of transparency, you can find the perfect balance that enhances visibility and contrast during your gameplay.
Customizing Crosshair via Game Settings
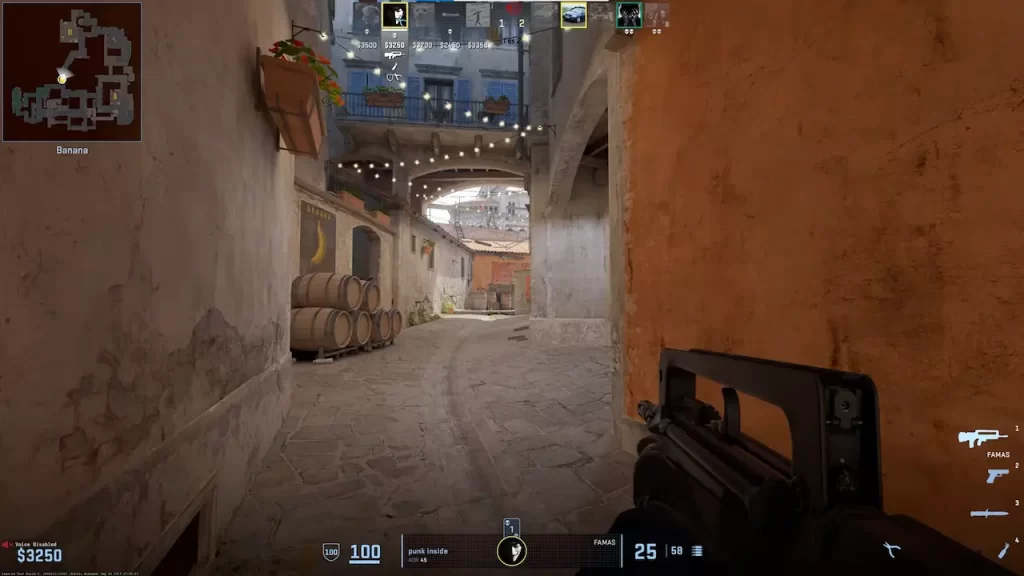
If you want to change your crosshair settings, the game’s settings menu is the simplest way to do it. In this menu, you can also find the default setting.
This method is ideal for those who prefer a visual interface and want to try out different crosshair options without getting into console commands or config files.
1. Accessing Crosshair Options
To access the crosshair settings in CS2, follow these steps:
Head to the main menu and select ‘Options’ to start customizing your game settings.
Select ‘Game Settings’ from the Options menu to access gameplay and crosshair preferences.
In the Game Settings menu, find the ‘Crosshair’ tab to begin customization.
Click on the ‘Crosshair’ tab to access a range of options, adjusting size, color, gap, and style to your preference.
You will also find a preview window in this tab, which shows you how your customized crosshair will look as you make adjustments.
2. Adjusting Crosshair Parameters
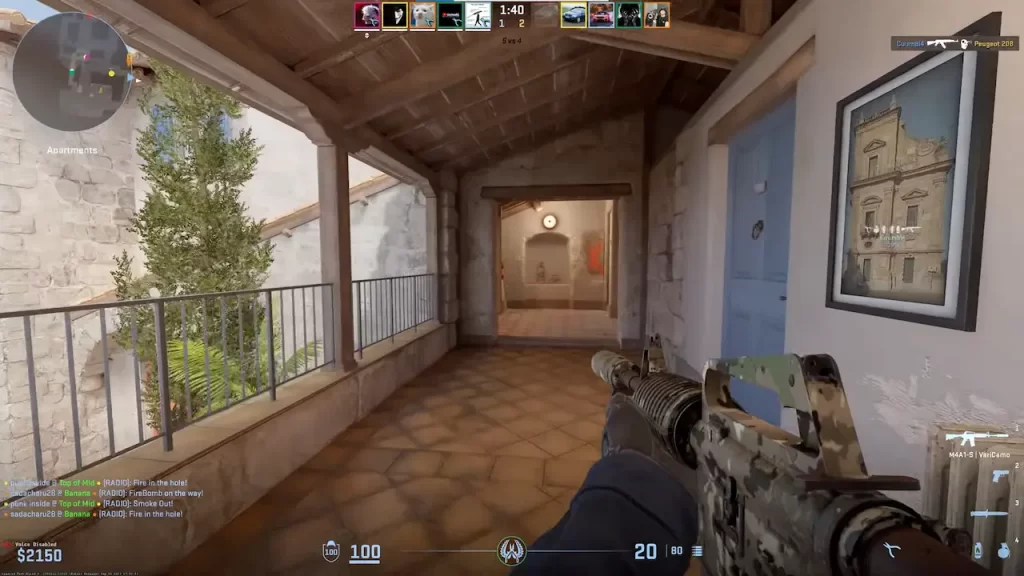
For instance, if you want to change the size of your crosshair, simply use the cl_crosshairsize X command in the console. Replace X with your preferred size value. To change the crosshair color, follow these steps:
Press the tilde (~) key to bring up the CS2 console for inputting commands.
Type cl_crosshaircolor X in the console, where X is a number from 0 to 5, each representing a color variation.
Press Enter to apply the color changes to your crosshair instantly.
Try different crosshair settings and combinations until you find the style that fits your gameplay and visibility preferences best.
Changing Crosshair Using the Developer Console
If you want to further personalize your crosshair settings, you can use the developer console to make adjustments.
This approach provides more advanced options and commands that allow for precise customization according to your preferences.
Enabling Developer Console
To enable the developer console in CS2, navigate to the main menu and follow these steps:
Select ‘Options’ from the main menu to access your game settings.
Select ‘Game Settings’ to access gameplay and console options.
Locate ‘Enable Developer Console (~)’ and select ‘YES’ from the dropdown menu to activate console commands.
Once the developer console is enabled, you can access it by pressing the tilde (~) key during gameplay.
Inputting Crosshair Commands
| Crosshair command | Description |
|---|---|
| cl_crosshairsize X | Changes the size of your crosshair. |
| cl_fixedcrosshairgap X | Moves the crosshair from the center of the screen. |
Modifying Crosshair via Config File
To save your specific crosshair settings for future use, you can edit your config.cfg file. This is especially handy if you switch hardware or want to share your preferred crosshair with others.
Find config.cfg in your Steam installation directory to access CS2 settings.
Open the file with a text editor and input commands to customize your crosshair precisely.
Save your changes and restart CS2 to apply the new crosshair settings.
Exploring Crosshair Maps
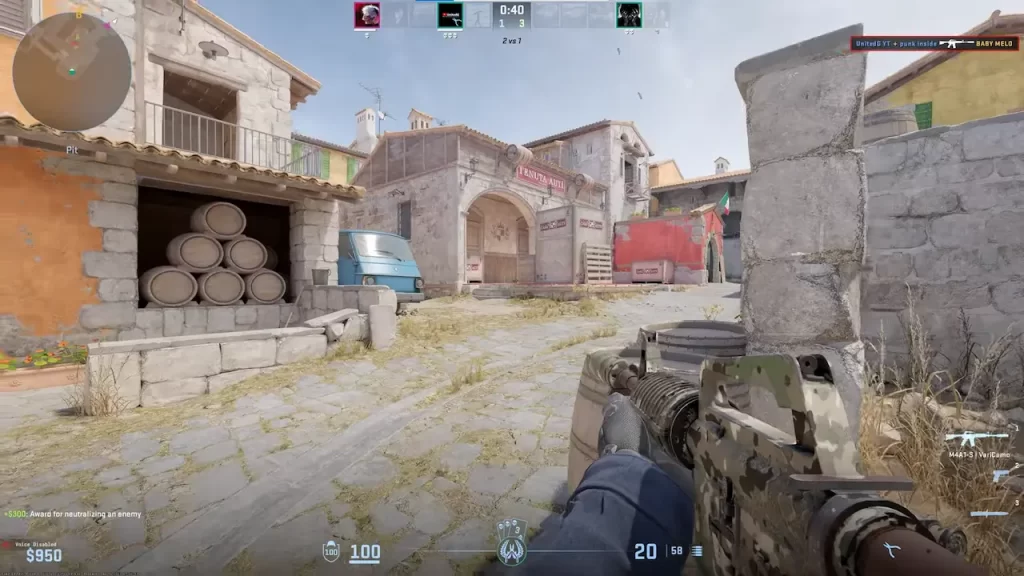
Using crosshair maps is a great way to experiment with and choose different crosshairs while playing the game, including the default one.
These custom maps offer a visual interface that allows you to adjust parameters such as:
Adjust the crosshair’s dimensions to fit your aiming preference and screen setup.
Choose a color that stands out against the environment for better visibility.
Select a crosshair style—static, dynamic, or classic—to match your shooting technique.
Popular Crosshair Maps
If you’re looking to customize your crosshair in CS2, there are a few popular options worth exploring.
Offers a wide range of settings used by professional players to create precise crosshairs.
Provides customization features to help you find the perfect crosshair for your gameplay style.
Experiment with different configurations and fine-tune your crosshair to suit your preferences.
Tips for Choosing the Best Crosshair
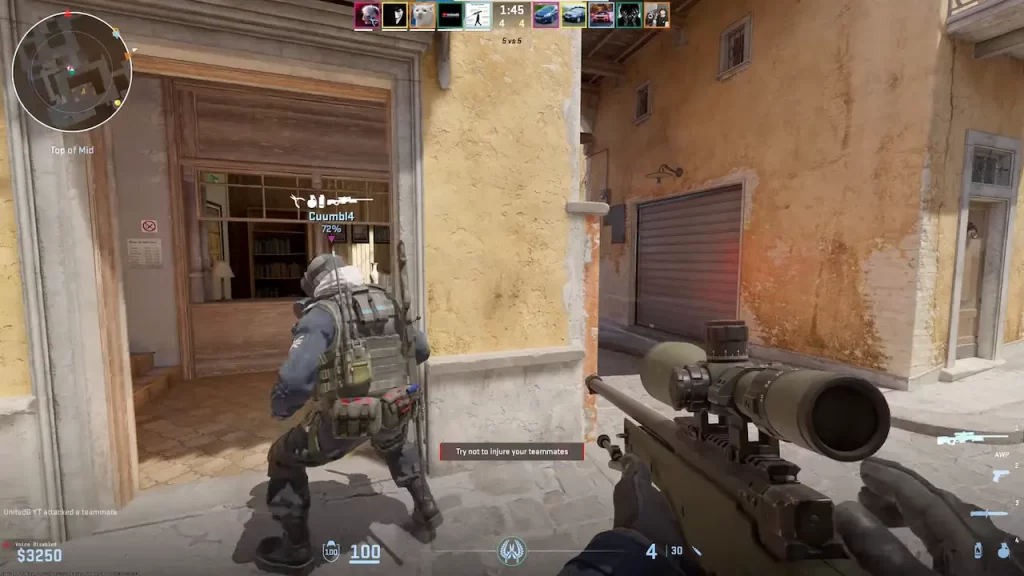
Choose a color that stands out against most map backgrounds, like bright green or red. Adjust transparency for optimal visibility.
Ensure your crosshair is large enough to see easily but not too big to obstruct your view. Adjust thickness for clarity and precision.
Static crosshairs stay the same size, while dynamic ones expand with movement. Choose based on consistent aiming or movement feedback.
Adding a Center Dot can improve precision. Adjust its size and color to complement your crosshair design.
Try your crosshair settings in different scenarios. Use crosshair maps and in-game editors for real-time adjustments.
A clean, simple crosshair enhances focus and accuracy better than a complex design.
Related: How to Make a Dot Crosshair in CS2
Why Having a Good Crosshair Is Important
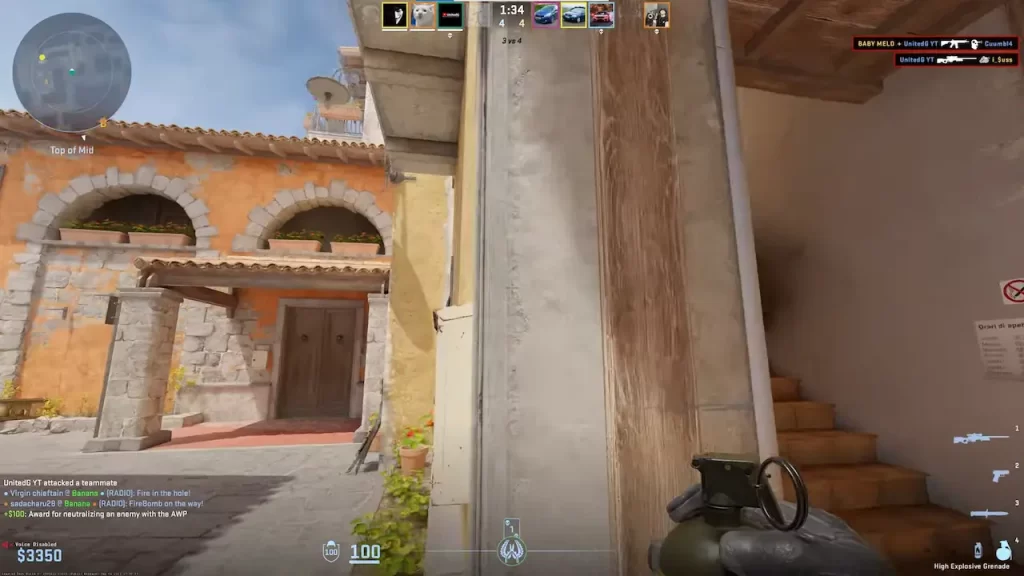
A well-designed crosshair enhances visibility and contrast against various map backgrounds, allowing for more accurate aiming and better overall performance.
With a crosshair tailored to your preferences, you can respond more effectively to opponents and improve your in-game accuracy.
Moreover, customizing your crosshair can make your gameplay experience more enjoyable and efficient, helping you rise through the ranks.
For an even better visual experience, consider upgrading your gear, such as purchasing stylish gloves.
Color, Size, and Visibility Tips
| Feature | Tips |
|---|---|
| Color | Choose a contrasting color that stands out against most maps, like bright green, red, or cyan. Adjust transparency to maintain visibility without obstructing your view. |
| Size | Ensure the crosshair is large enough to see easily but not so big that it blocks enemies. Adjust thickness for clarity and precise aiming. |
| Visibility | Test in different map environments and lighting conditions. Use a center dot if needed, and keep the design simple for consistent focus and minimal distractions. |
Summary
With the tools and knowledge provided, you can create a crosshair that fits your CS2 gameplay perfectly. Customize it using in-game CS2 settings, the developer console, config files, or crosshair maps to find the ideal balance of size, color, and style.
FAQs
How do I change my crosshair in CS2?
You can change your crosshair in CS2 by going to Settings → Game → Crosshair, where you can adjust size, color, thickness, gap, and style. You can also use console commands for more precise control.
Can I copy another player’s crosshair in CS2?
Yes. If a player shares their crosshair code, you can import it directly in the Crosshair settings menu. This is the fastest way to use a pro or streamer’s crosshair.
In CS2, you can quickly replicate a teammate’s or opponent’s crosshair during a match. Open the scoreboard, locate the player with a crosshair you like, and use the “Copy Crosshair” option.
This instantly imports their settings, letting you experiment with proven setups without manual adjustments.
Do crosshair console commands still work in CS2?
Yes. CS2 supports crosshair console commands like cl_crosshairsize, cl_crosshairgap, and cl_crosshaircolor. These commands allow finer customization than the in-game sliders.
What is the best crosshair for CS2?
There is no single “best” crosshair. Most players prefer a small, static crosshair with high contrast for visibility, but the ideal setup depends on your resolution, sensitivity, and playstyle.
Can I reset my crosshair to default in CS2?
Yes. You can reset your crosshair by clicking Reset Crosshair in the settings menu or by deleting custom crosshair commands from your autoexec file if you use one.


