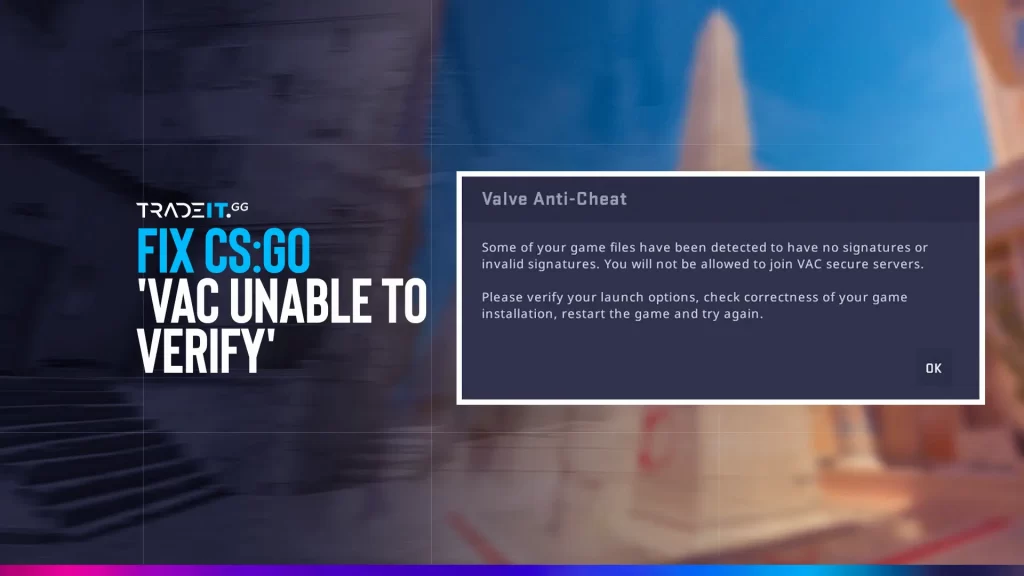
As a Counter-Strike 2 player, encountering the ‘VAC Was Unable to Verify Your Game Session’ error can be very annoying, especially with the latest updates and features introduced in 2025.
This issue can disrupt your gaming experience for hours. However, there’s no need to worry because we have prepared a comprehensive guide that will help you resolve this problem and get back into action.
In this post, I will guide you through the necessary steps to diagnose and resolve the VAC error, ensuring that your game session runs smoothly.
Table of Contents
Understanding the “VAC Was Unable to Verify Your Game Session” Error
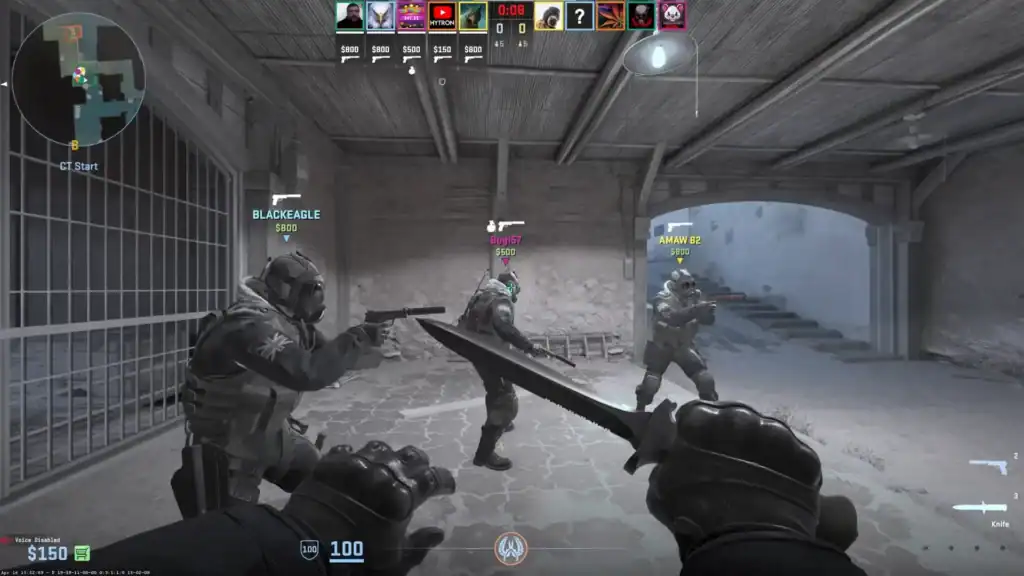
The Valve Anti-Cheat (VAC) system aims to safeguard players against cheaters and uphold a fair gaming environment.
However, there are instances, when the system encounters an error called “VAC, Was Unable to Verify Your Game Session,” which hinders successful matchmaking and prompts a “verify error” message.
This particular issue, known as the verify game session error, typically arises from improper installation or missing game files that violate VAC guidelines imposed by Steam.
Luckily, there are several potential solutions available to rectify this issue. These options encompass updating drivers, running Steam with administrative rights, and adjusting antivirus settings.
Related: What Is Steam Guard?
However, let us first discuss some fundamental preliminary steps.
Essential Preliminary Steps
Before delving into more advanced solutions, it is essential to conduct preliminary checks. These initial steps are crucial and involve:
Ensure your Steam account has no VAC bans that could prevent matchmaking or server access.
Verify that no cheat tools, injectors, or suspicious background software are running.
Inspect and verify game files to fix missing or corrupted data.
Update Windows and drivers to fix vulnerabilities and resolve system or program file issues.
To make it easier to follow, it is advisable to try these solutions in sequence since the issue is often resolved within the initial steps. These can include checking the local files tab in Steam.
Let’s examine each of these important preliminary measures more closely.
1. Check for VAC Bans
To ensure uninterrupted access to your Steam games, it is essential to check if your Steam account has been VAC-banned.
Open Steam and go to your profile page. If a VAC ban exists on your profile, it will be indicated.

Unfortunately, this ban will restrict your access to the games on Steam. In such circumstances, creating a new account might be the only solution for reclaiming your games.
If you have not received a VAC ban, you are ready to move on to the next step.
However, if none of the other solutions help resolve the error, reinstalling CS2 may ultimately be necessary.
Also view: How to remove Steam Trade holds.
2. Update Device Drivers
Outdated device drivers may potentially cause the “VAC was unable to verify your game session” error. To avoid issues with game performance and resolve the VAC error, it is recommended to keep your device drivers up-to-date.
You have a couple of options: you can utilize a third-party tool or go directly to the Nvidia or AMD driver update section.
By keeping your device drivers up to date, you can guarantee a seamless gaming experience and potentially prevent encountering the VAC error altogether.
3. Close Cheat Software
Running cheat software on your computer while playing online games can result in VAC errors. If you’re using Windows and encounter cheat software, follow these steps to close the software:
Press Ctrl + Alt + + + and delete the file if it appears.
Select Task Manager to view all currently running processes.
Locate any cheat-related software in the list of active processes.
Select the software and click End task to stop it completely.
Disabling cheat software becomes a necessity to prevent VAC errors and maintain an equitable gaming environment accessible to all players.
Related: CS2 Cheating Problem
Fix the “VAC was unable to verify your game session” Error
If none of the above solutions worked, don’t worry. There are more solutions for this error and you might just have to try them one by one until you find one that works.
Fix 1. Restart Steam and Your PC
Sometimes, the simplest solutions prove to be the most effective ones. If you encounter a VAC error while using your Steam client, try restarting both the client and your computer.
This straightforward action often resolves the issue.
Right-click the Steam icon in the system tray and select Exit Steam.
Ensure Steam is completely closed and not running in the background.
Restart your computer to clear temporary system or Steam-related issues.
Open Steam again and check if the error still persists.
Fix 2. Verify the Integrity of Game Files
In CS2, Steam provides a built-in feature that enables users to effortlessly check and repair game files. This handy tool can effectively address the VAC error by verifying the integrity of the game files. To perform this task, simply follow these steps:
Launch the Steam client on your computer.
Click the Library tab at the top of the Steam window.
Locate Counter-Strike 2 in your game list and right-click it.
Select Properties from the context menu.
In the Properties window, open the Local Files tab.
Click Verify integrity of game files to repair missing or corrupted CS2 files.
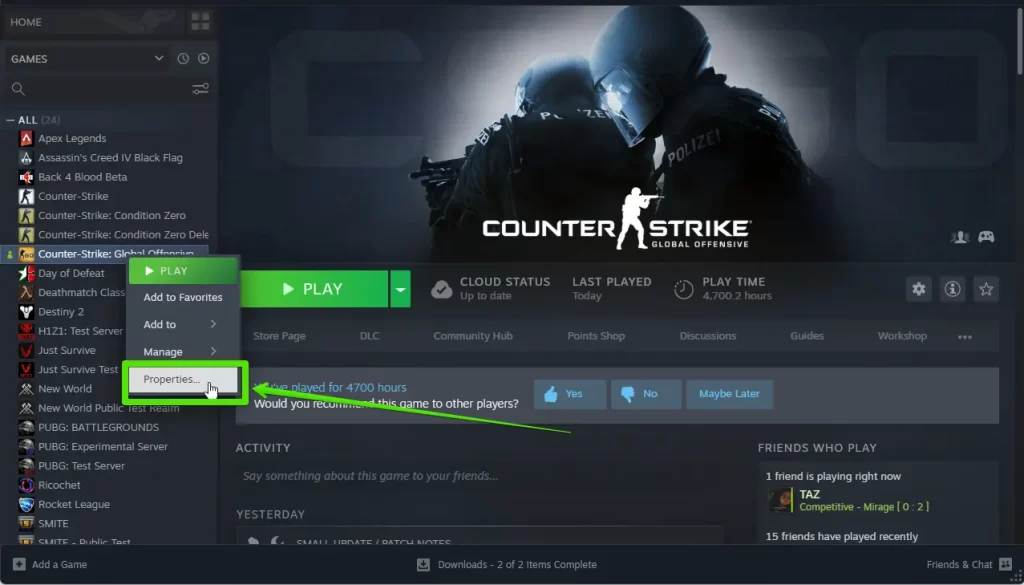

If verifying the files didn’t work, move on to the next fix.
Fix 3. Clear Steam’s Download Cache
In Steam, click your profile icon and open Settings.
Select Downloads from the left-hand menu.
Click Clear Download Cache to remove cached data.
Restart Steam and log back into your account.
Fix 4. Ensure CS2 is Up-to-Date
Launch Steam and select the Library tab.
Right-click Counter-Strike 2 and select Properties.
Under Updates, ensure Always keep this game updated is selected.
If an update is available, Steam will download it automatically.
Fix 5. Run Steam as an Administrator
Running into the VAC error while using Steam and CS2? Granting administrator privileges might just help you out.
Fully close Steam and make sure it is not running in the background.
Right-click the Steam icon and select Run as administrator.
Start Counter-Strike 2 and check if the error has been resolved.
If you’re still experiencing the error even after running Steam and CS2 as administrator, let’s move on to the next possible solution for fixing cs.
Related: How to Run Counter-Strike 2 on Steam Deck?
Fix 6. Repairing the Steam Client and Library Folder
Repair the Steam client and library folder to fix the VAC error.
Ensure Steam is fully shut down by right-clicking the system tray icon and selecting Exit.
Press Windows + R to open the Run dialog box.
Paste and run:
“C:\Program Files (x86)\Steam\bin\SteamService.exe” /repair
Note: If you installed Steam in a different location, adjust the path accordingly.
Steam Service Window: A command prompt window might open and close briefly. This is Steam Service repairing itself.
Now repair the Steam library folder:
Click Steam in the top-left corner and select Settings.
In Settings, navigate to the Downloads section.
Click the Steam Library Folders button to view all library locations.
Locate the folder where CS2 is installed in the Steam Library Folders window.
Click the three dots next to the folder and select Repair Folder to fix issues.
Once the repair is finished, launch Steam. Test CS2 afterward to check if the VAC error has been resolved. If it hasn’t, proceed with the next solution.
Fix 7. Addressing Background Tasks and Services
To avoid encountering VAC errors in Steam and CS2, it is advisable to identify and close any background tasks and services that may cause conflicts.
You can easily recognize these processes using the Task Manager and terminate them accordingly.
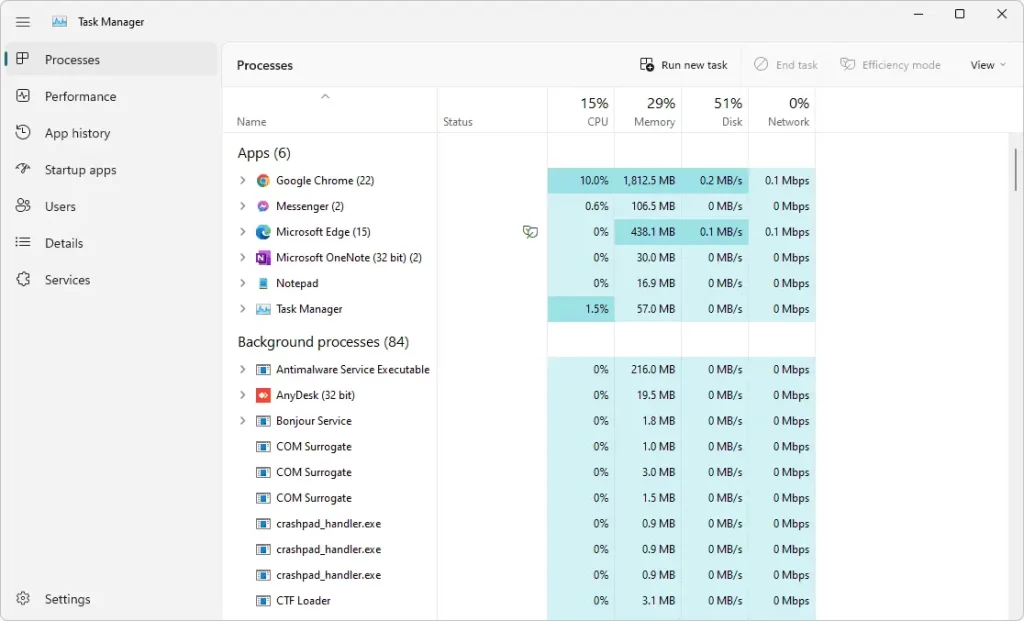
Press Windows + R to open the Run dialog box.
Type taskmgr and click OK or press Enter to open Task Manager.
First, address the background tasks and services. Then, test CS2 to check if the VAC error has been resolved. If it hasn’t, proceed to the next solution.
Fix 8. Antivirus and Firewall Considerations
When dealing with Steam and CS2, it is important to adjust your antivirus and firewall settings in order to avoid any potential interference. Doing so can help resolve the VAC error.
If you are facing issues caused by your antivirus software, one solution is to exclude the Steam application from scanning by adding it to the excluded files folder in your antivirus settings.
Alternatively, you may choose to temporarily disable or reinstall the antivirus altogether.
If you find that disabling your antivirus software solves the VAC error, it may be a good idea to reach out to the support team of the software manufacturer for additional options.
In case the error persists, you can proceed to explore alternative fixes.
Fix 9. Opting Out of Steam Beta Participation
To resolve the VAC error in certain cases, you may find it helpful to leave the Steam Beta program. Here are the steps to opt out of Steam Beta participation:
Navigate to Steam settings from the top-left menu of the client.
Select the Account tab in Settings.
Under Beta Participation, click the Change button.
Select “NONE – Opt out of all beta programs” to leave the beta.
After opting out of Steam Beta, test CS2 to check if the VAC error is resolved. If the error persists, proceed to the final solution.
Related: Steam ID Finder
Fix 10. Reinstalling CS2
If all else fails, you can try resolving the VAC error in CS2 by reinstalling the game. This method involves removing any unwanted files and ensuring a clean installation.
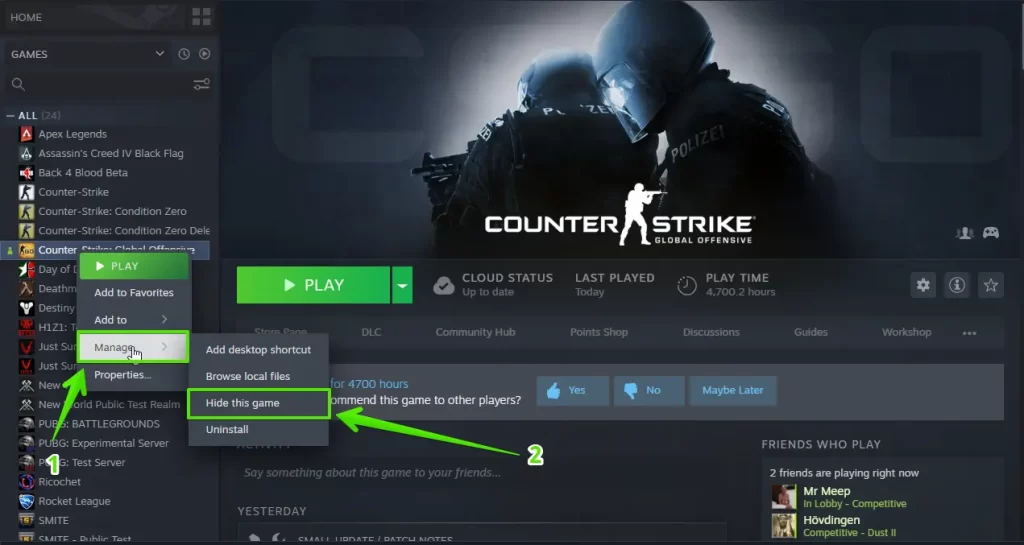
To do so, begin by uninstalling the current version of CS2 through the Control Panel. Afterward, head to the Steam store where you can download and install the latest version of the game.
If you reinstall CS2, make sure to verify the integrity of the game files in your Steam library.
Bonus Fix: Check and Replace Corrupted DLL Files
Press Win + X and select Command Prompt (Admin) or Windows PowerShell (Admin).
Type sfc /scannow and press Enter to scan and replace corrupted system files.
The scan may take some time. Once complete, it will report any corrupt files found and replaced.
Check for DLL Issues with DISM:
Run DISM Tool:
In the same Command Prompt window, type the following commands one by one, pressing Enter after each:
DISM /Online /Cleanup-Image /CheckHealth DISM /Online /Cleanup-Image /ScanHealth DISM /Online /Cleanup-Image /RestoreHealth
This tool will check the health of your system image and repair it if necessary.
Restart your computer to ensure all changes take effect. Should you continue experiencing the VAC error, feel free to reach out to Steam support for further assistance.
Related: How to check someone’s Steam Trade history.
Summary
We hope this guide has successfully resolved the “VAC Was Unable to Verify Your Game Session” error in CS2.
Remember to regularly update your device drivers, abstain from using cheat software, and adjust your antivirus and firewall settings as necessary.
Now that you have the knowledge to resolve the VAC error, it is time to rejoin the action and master the battlefield. Enjoy your gaming experience!
FAQs
How do I fix my Steam VAC ban?
Regrettably, VAC bans are irrevocable and cannot be resolved through negotiation. In the event that a VAC ban is determined to have been wrongly issued, it will be automatically lifted.
How do you verify game files in CS2?
To verify game files in CS2, follow these steps:
- Open your game library on Steam.
- Right-click on the game.
- Go to its Properties.
- Select Installed Files.
- Click on Verify Integrity of Game Files.
Once you perform these steps, Steam will automatically verify the game’s files and a notification box will appear when the process is complete.
What does VAC stand for CS2?
Valve Anti-Cheat, commonly known as VAC, is an automated system designed to detect cheats on users’ computers. It scans for any suspicious activity and when a cheat is found, the user’s account is flagged for a temporary ban from all VAC-secured servers. This ensures fair gameplay and maintains the integrity of online gaming environments.
What does “VAC was unable to verify your game session” mean?
This error indicates that the Valve Anti-Cheat (VAC) system cannot confirm the integrity of your game files.
Does verifying game files always fix the VAC error?
It resolves most cases, but if the error persists, try clearing the download cache or repairing the Steam service.


