Creating your own Rust server is a great way to customize your gameplay experience and host matches with friends or a community.
A private server allows you to control settings, experiment with mods, or set up creative scenarios. While the process may seem daunting at first, this guide will walk you through the essential steps for setting up a Rust server.
Table of Contents
System Requirements for Hosting a Rust Server
Before diving into the setup, ensure your system meets the minimum requirements for hosting a Rust server. Running a server alongside the game can be resource-intensive, so it’s recommended to use a dedicated machine if possible.
Minimum Requirements
For larger public servers, consider renting a dedicated server from a hosting provider.
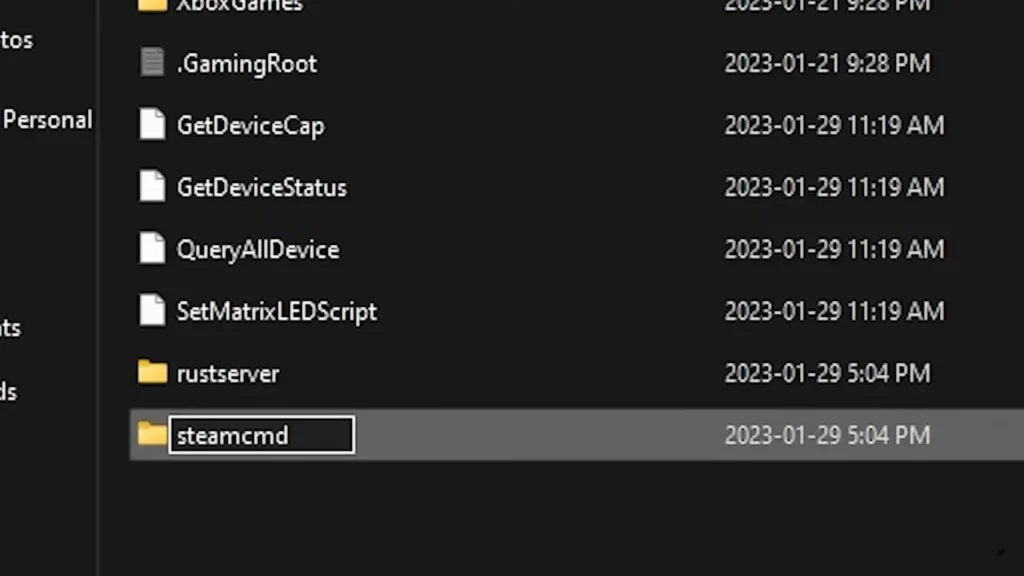
Step 1: Install SteamCMD
SteamCMD is Valve’s command-line tool used for installing and updating Steam-based game servers.
Steps to Install SteamCMD:
On Linux: Extract the file using a terminal command like
tar -xvzf steamcmd_linux.tar.gz.
steamcmd.exe (Windows) or ./steamcmd (Linux). Allow it to update itself during the first run.Step 2: Download Rust Server Files
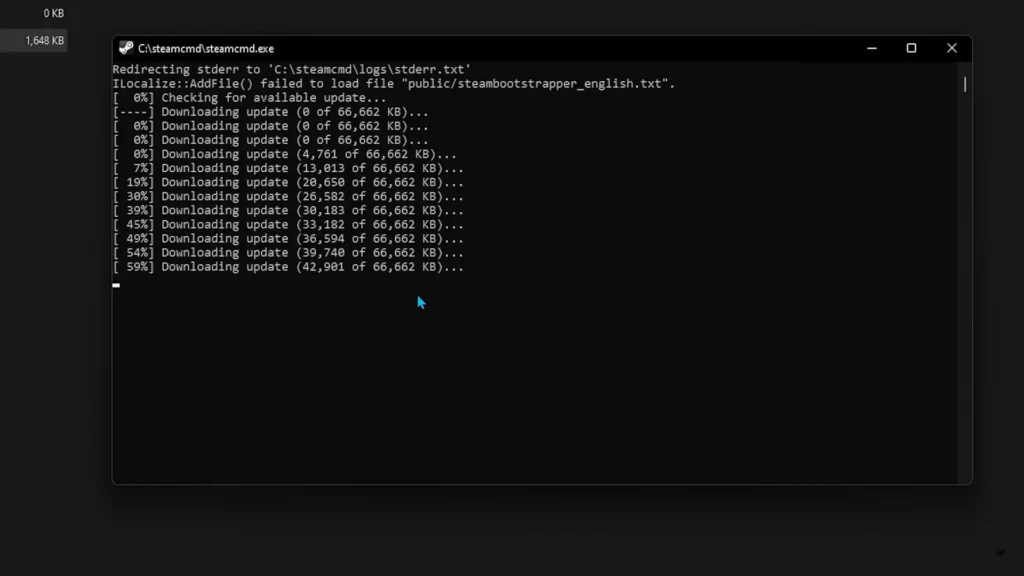
Once SteamCMD is installed, you can use it to download the necessary server files.
Steps:
login anonymousforce_install_dir C:\rustserverapp_update 258550 validateThis command downloads the latest version of the Rust server files into your specified directory.
Step 3: Configure Your Rust Server
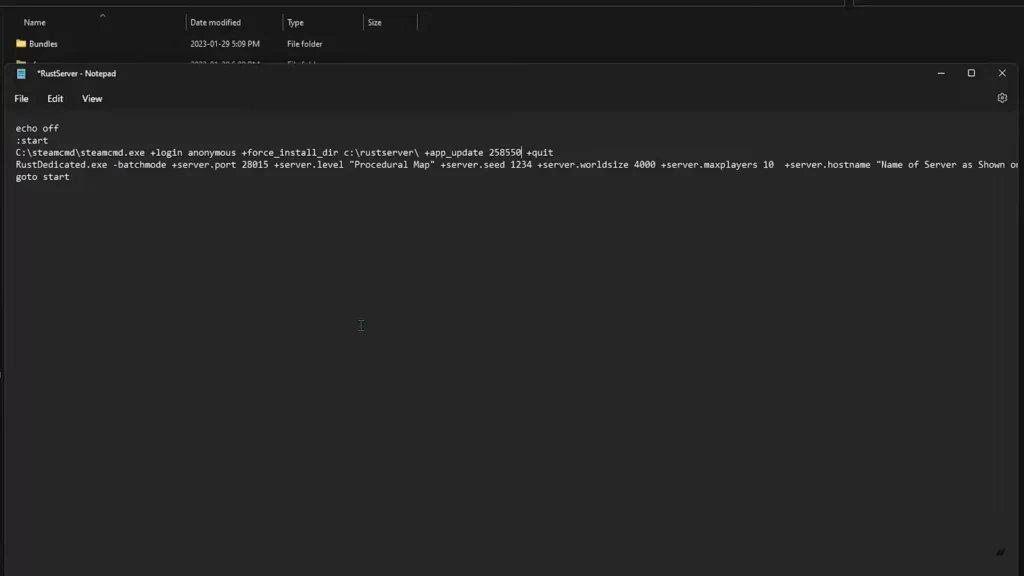
After downloading the server files, you need to configure your server settings.
Steps:
C:\rustserver).start.bat (Windows) or start.sh (Linux). If it doesn’t exist, create one.Windows Example (start.bat)
@echo off

RustDedicated.exe -batchmode +server.port 28015 +server.level "Procedural Map" +server.seed 12345 +server.worldsize 4000 +server.maxplayers 50 +server.hostname "My Rust Server" +server.description "Welcome to my Rust server!" +server.identity "rust_server" +rcon.port 28016 +rcon.password "yourpassword"

pause
Linux Example (start.sh)
./RustDedicated -batchmode +server.port 28015 +server.level "Procedural Map" +server.seed 12345 +server.worldsize 4000 +server.maxplayers 50 +server.hostname "My Rust Server" +server.description "Welcome to my Rust server!" +server.identity "rust_server" +rcon.port 28016 +rcon.password "yourpassword"
Key Parameters
The port your server will run on (default is 28015).
The map type (e.g., “Procedural Map” or “HapisIsland”).
Controls map generation randomness. Changing this will create a different map.
The size of the map (default is 4000; max is 6000).
Maximum number of players allowed on the server.
The name displayed in the server browser.
A short description shown in the server browser.
Step 4: Port Forwarding
To allow players to connect to your server, you must enable port forwarding on your router.
Steps:
Router Login
Log into your router’s admin page (usually at 192.168.0.1 or 192.168.1.1).
Port Forwarding Section
Find the Port Forwarding section in your router’s settings.
Forward Ports
Forward the following ports to your server’s local IP address:
28015 (Game Port)
28016 (RCON)
Check guides specific to your router model if you’re unsure how to set this up.
Step 5: Run Your Rust Server
Once everything is configured, start your server:
Windows
Double-click start.bat to launch your Rust server.
Linux
Run start.sh using a terminal to start the server.
Your server will launch, and you can check the console for status updates.
Step 6: Customize Further with Plugins (Optional)
For more advanced features, you can use plugins through the Oxide modding framework. Oxide allows you to install mods for server management, gameplay tweaks, and more.
Steps to Install Oxide:
Download Oxide
Download the latest Oxide build from umod.org.
Extract Files
Extract and overwrite the files in your server directory.
Restart Server
Restart your Rust server to apply Oxide changes.
Install Plugins
Browse and install plugins from the uMod website to enhance your server.
Tips for Managing Your Rust Server
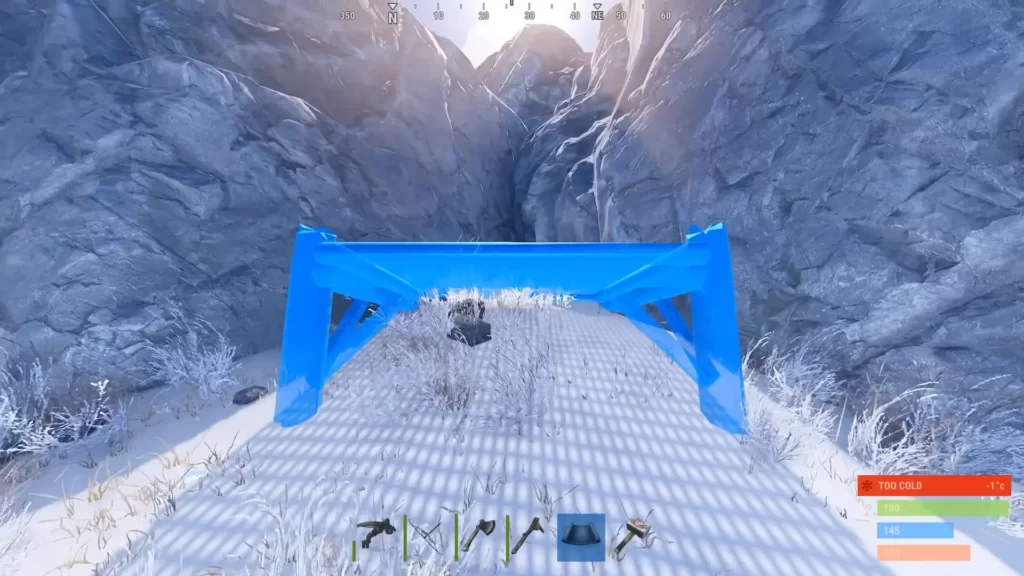
Here are some tips for managing your Rust server:
Backups
Regularly back up your server files and save data to prevent loss during crashes or updates.
Monitoring
Use tools like RCON software to manage players, monitor activity, and enforce rules remotely.
Rules and Community Management
Set clear server rules and maintain active communication to foster a positive community.
Essential Rust Server Commands
| Command / Action | Description | Example / Notes |
|---|---|---|
steamcmd | Install SteamCMD, required to download Rust server files. | ./steamcmd.sh (Linux) or steamcmd.exe (Windows) |
login anonymous | Log into SteamCMD anonymously to download Rust server files. | login anonymous |
force_install_dir | Specify the folder where the Rust server files will be installed. | force_install_dir ./RustServer/ |
app_update 258550 validate | Download or update Rust server files. | Ensures server files are current and validated. |
exit | Exit SteamCMD after installation. | exit |
start RustDedicated.exe | Launch the Rust server with basic settings. | Use additional parameters for customization (see below). |
server.ip | Set the server’s IP address. | +server.ip 0.0.0.0 |
server.port | Set the server’s port. | +server.port 28015 |
server.level | Set the map type (Procedural Map, Flat, etc.). | +server.level Procedural Map |
server.seed | Set the map seed for Procedural Map generation. | +server.seed 12345 |
server.worldsize | Set the world size in Rust units. | +server.worldsize 4000 |
server.maxplayers | Set the maximum number of players allowed. | +server.maxplayers 50 |
server.identity | Set the server folder name for saves and configs. | +server.identity MyServer |
server.saveinterval | Set how often the server saves the world. | +server.saveinterval 300 (in seconds) |
rcon.port & rcon.password | Enable remote console for server management. | +rcon.port 28016 +rcon.password "YourPassword" |
Rust Server Tools
Managing a Rust server can be complex, especially for beginners. Tools like GSK, HostHavoc, and GTXGaming simplify server hosting by providing preconfigured environments, automated updates, and easy control panels.
These platforms let you customize map sizes, player limits, and RCON settings without deep technical knowledge. They also offer DDoS protection, backup systems, and one-click mod/plugin installations.
Whether you want a small community server or a high-population competitive server, these hosting tools save time and reduce headaches. Using such services ensures stability, security, and a smoother player experience.
Rust Servers on Consoles
Private Rust servers are officially available only for PC through Rust Dedicated Server software. Console versions of Rust on PS4, PS5, and Xbox do not support creating private servers.
Players on these platforms can only join official servers or community servers hosted by Facepunch. This limitation means that console users cannot customize server parameters, mods, or maps like PC users can.
To experience full private server control, including custom rules, plugins, and map settings, a PC setup is required.
Consoles offer limited flexibility, so gamers seeking private or modded Rust servers should consider playing on PC for the full private server experience.
Summary
Setting up a Rust server may require some initial effort, but the rewards are worth it. Whether you want to host custom games for friends or build a thriving public community, a dedicated server gives you complete control over the Rust experience.
FAQs
What are the system requirements for running a Rust server?
A Rust server requires a stable CPU, at least 8GB RAM, sufficient storage (20–50GB), and a reliable internet connection with an open port for incoming players. Higher player counts need more resources.
How do I update my Rust server?
Use SteamCMD and run app_update 258550 validate in the server’s installation directory. This ensures all files are up-to-date and validated. Restart the server after updating.
Can I run a Rust server on Linux?
Yes. Linux supports Rust servers via SteamCMD. Use RustDedicated in batch mode with -nographics for headless operation. Configuration and commands are similar to Windows.
How do I manage players and admins on my server?
Enable RCON (+rcon.port and +rcon.password) to manage the server remotely. You can also configure admin users in the users.cfg file for commands and moderation.
How do I customize the Rust map and world settings?
Use startup commands like +server.level, +server.seed, and +server.worldsize to define map type, seed, and size. Adjust +server.maxplayers to control the number of players.


