

Whether you want to optimize your settings, create a CS2 practice config, or import your old Counter-Strike: Global Offensive setup, knowing how the CS2 config system works is essential.
Counter-Strike 2 stores most of your personal settings in configuration files that can be edited, copied, and shared.
This guide explains the CS2 config location, how to edit or replace your config, create specialized configs for practice or bunny hopping, and safely transfer your old CS:GO configuration to CS2.
What Is a CS2 Config File?
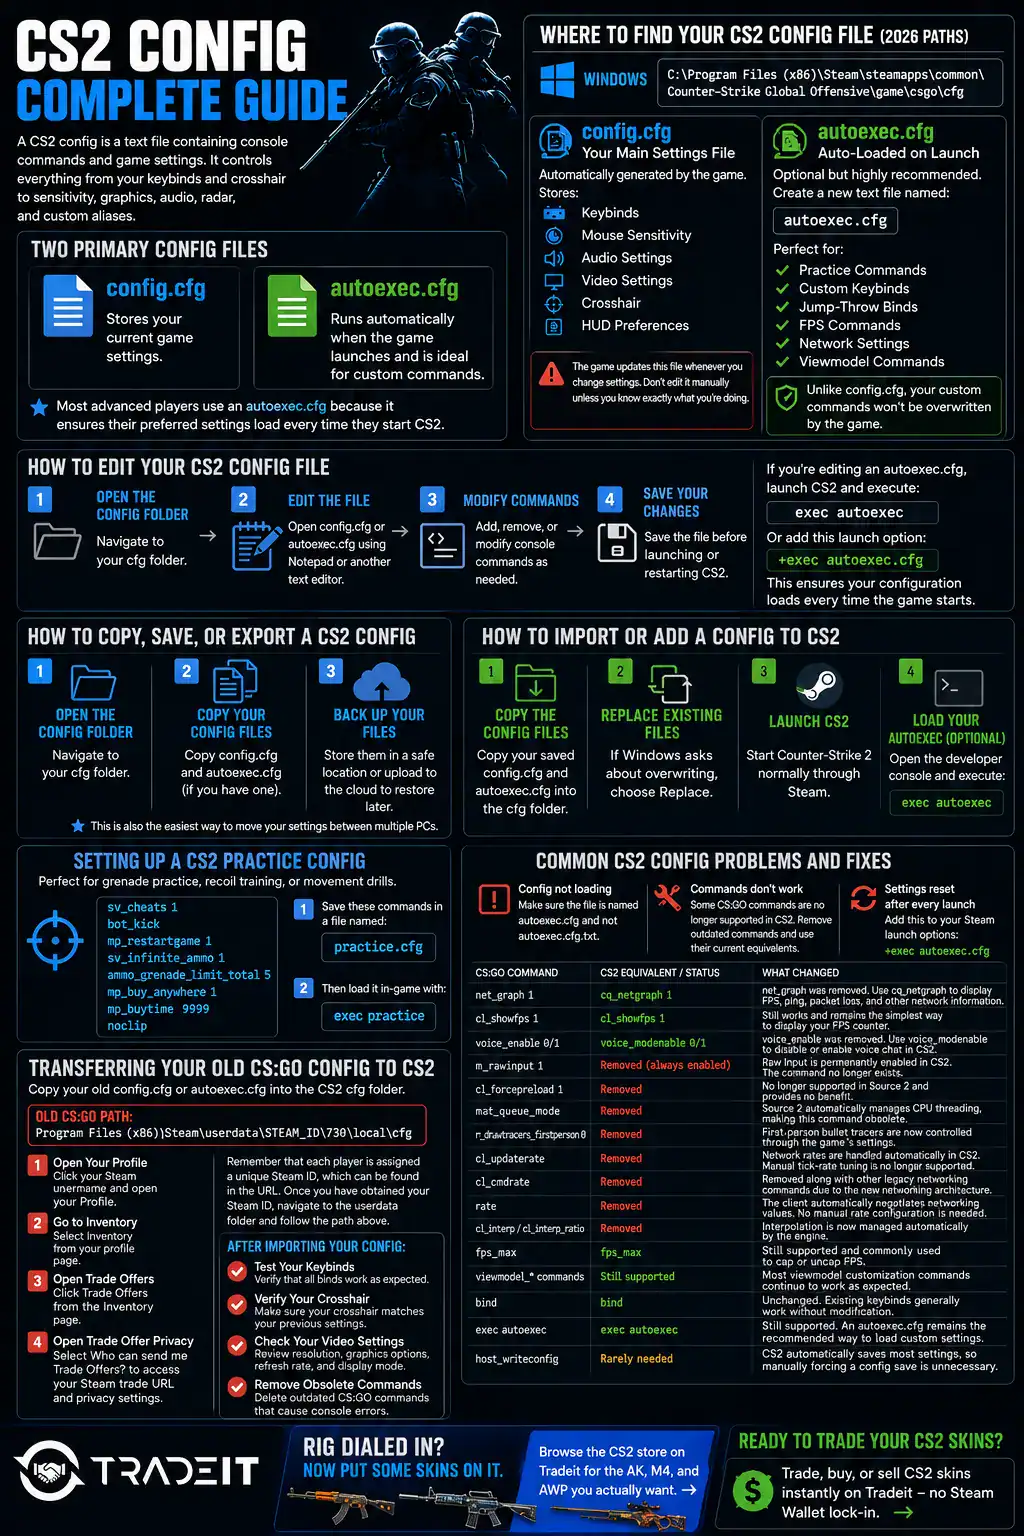
A CS2 config is a text file containing console commands and game settings. It controls everything from your keybinds and crosshair to sensitivity, graphics preferences, audio settings, radar, and custom aliases.
There are two primary configuration files:
Stores your current game settings.
Runs automatically when the game launches and is ideal for custom commands.
Most advanced players use an autoexec.cfg because it ensures their preferred settings load every time they start CS2.
Where to Find Your CS2 Config File (2026 Paths)
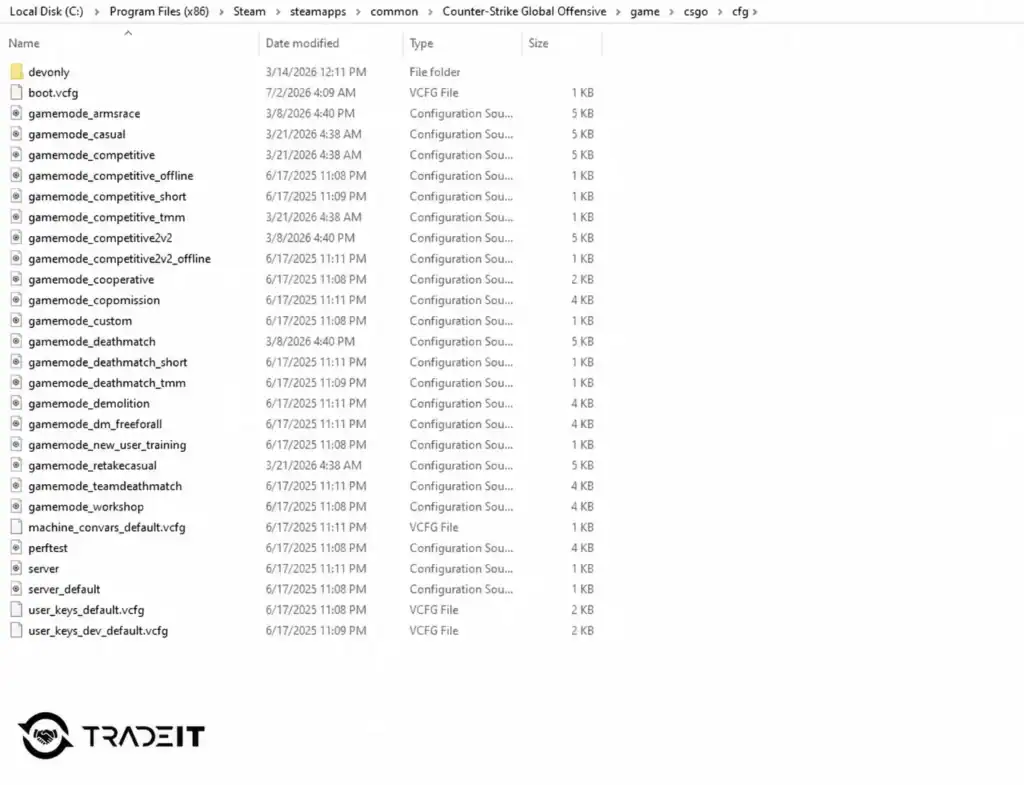
The default CS2 config location on Windows is:
C:\Program Files (x86)\Steam\steamapps\common\Counter-Strike Global Offensive\game\csgo\cfg
config.cfg – Your Main Settings File
The config.cfg file is automatically generated by the game. It stores:
The game updates this file whenever you change settings through the menus or console. Because of this, you generally shouldn’t edit config.cfg manually unless you know exactly what you’re changing.
autoexec.cfg – Auto-Loaded on Launch
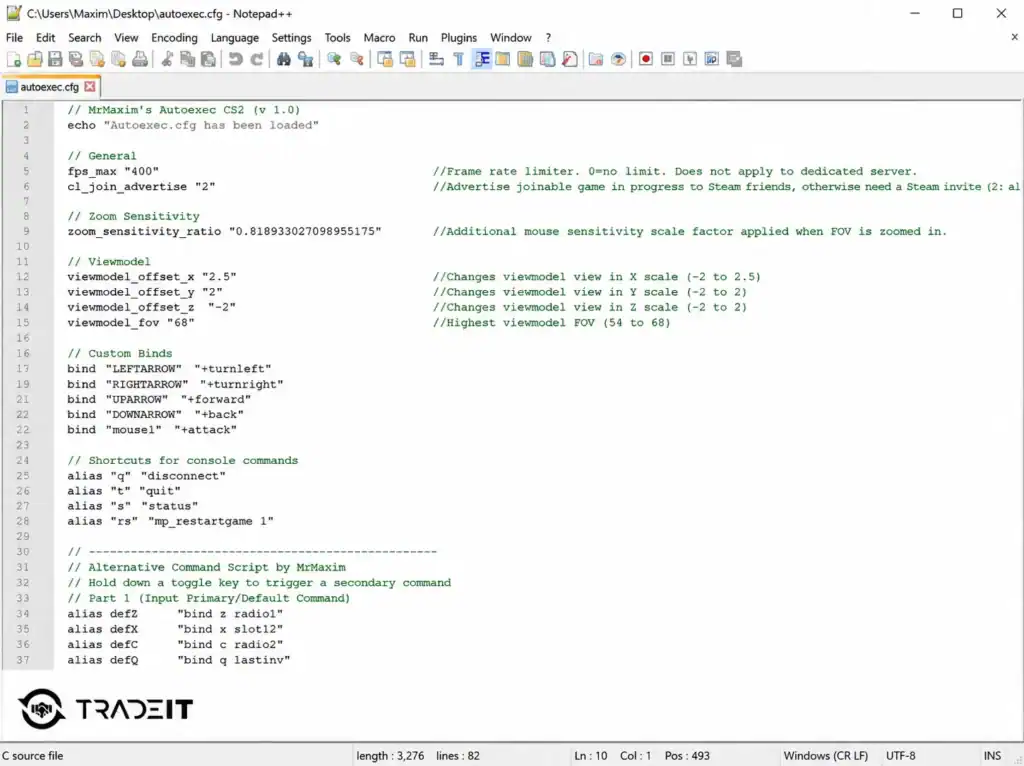
The autoexec.cfg file is optional but highly recommended. If it doesn’t exist, simply create a new text file named:
autoexec.cfg
Store it in the same cfg folder.
This file is perfect for:
Unlike config.cfg, your custom commands won’t be overwritten by the game.
How to Edit Your CS2 Config File
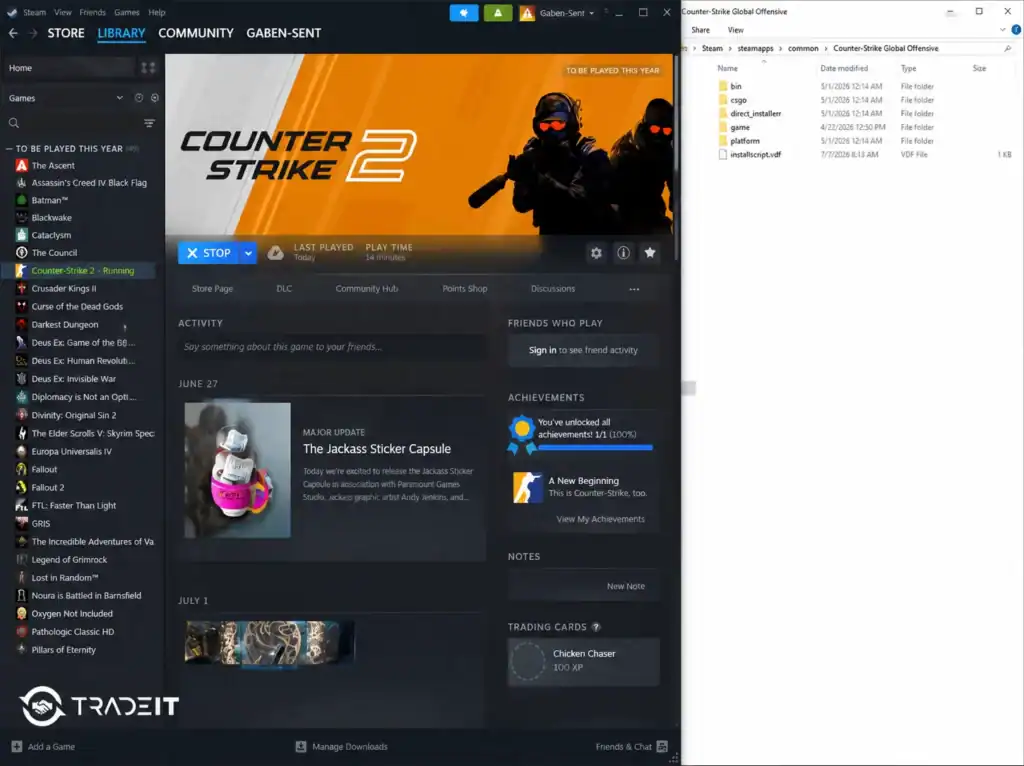
Editing your CS2 config is straightforward.
Navigate to your cfg folder.
Open config.cfg or autoexec.cfg using Notepad or another text editor.
Add, remove, or modify console commands as needed.
Save the file before launching or restarting CS2.
If you’re editing an autoexec.cfg, launch CS2 and execute:
exec autoexec
Or add this launch option:
+exec autoexec.cfg
This ensures your configuration loads every time the game starts.
How to Copy, Save, or Import a CS2 Config
Many players ask how to copy a CS2 config or how to save a CS2 config before reinstalling Windows or switching computers. Fortunately, it’s very easy.
To save or export your config:
Navigate to your cfg folder.
Copy config.cfg and autoexec.cfg (if you have one).
Store the copied files in a safe location or upload them to a cloud storage service so you can easily restore them later.
To import or add a config to CS2:
Copy your saved config.cfg and autoexec.cfg files back into the cfg folder.
If Windows asks whether you want to overwrite the existing files, choose Replace.
Start Counter-Strike 2 normally through Steam.
If you’re using an autoexec.cfg, open the developer console and execute:
This is also the easiest way to move your settings between multiple PCs.
Setting Up a CS2 Practice Config
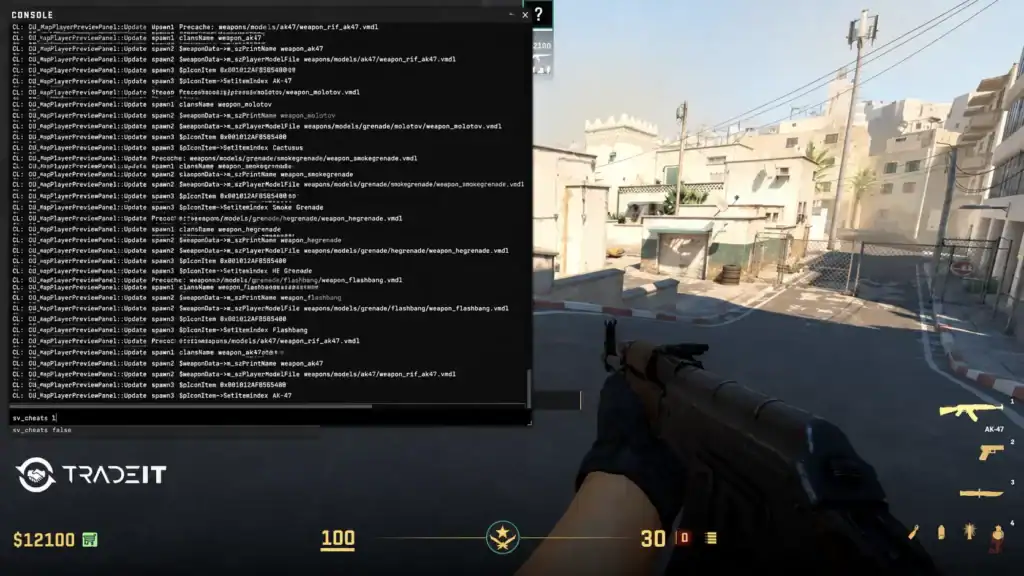
A CS2 practice config lets you instantly prepare an offline server for grenade practice, recoil training, or movement drills. The best CS2 console commands include:
sv_cheats 1
bot_kick
mp_restartgame 1
sv_infinite_ammo 1
ammo_grenade_limit_total 5
mp_buy_anywhere 1
mp_buytime 9999
noclip
Save these commands inside a dedicated file, for example:
practice.cfg
Then load it in-game with:
exec practice
This approach keeps your practice settings separate from your normal configuration.
Setting Up a CS2 Bhop Config
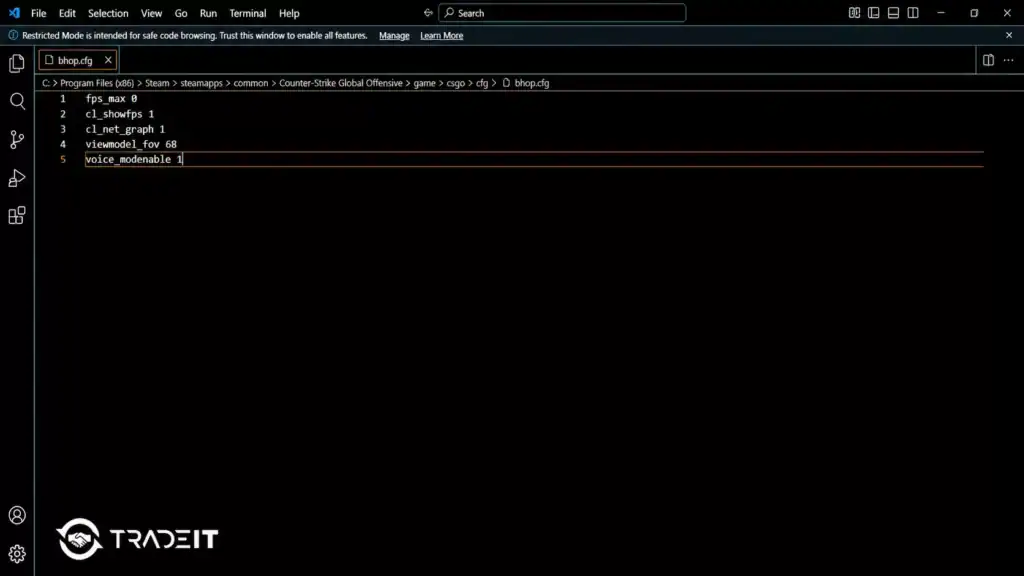
A CS2 bhop config is useful for private servers and movement practice.
Typical commands include:
sv_cheats 1
sv_enablebunnyhopping 1
sv_autobunnyhopping 1
sv_airaccelerate 1000
sv_staminamax 0
sv_staminalandcost 0
Save these commands as:
bhop.cfg
Then execute:
exec bhop
Keep in mind that most bunny hop commands only work in offline matches or on servers with cheats enabled. They are not available in Premier, Competitive matchmaking, or other official Valve servers.
Now put some skins on it. Browse the CS2 store on Tradeit for the AK, M4, and AWP you actually want. →
Trade SkinsTransferring Your Old CS:GO Config to CS2
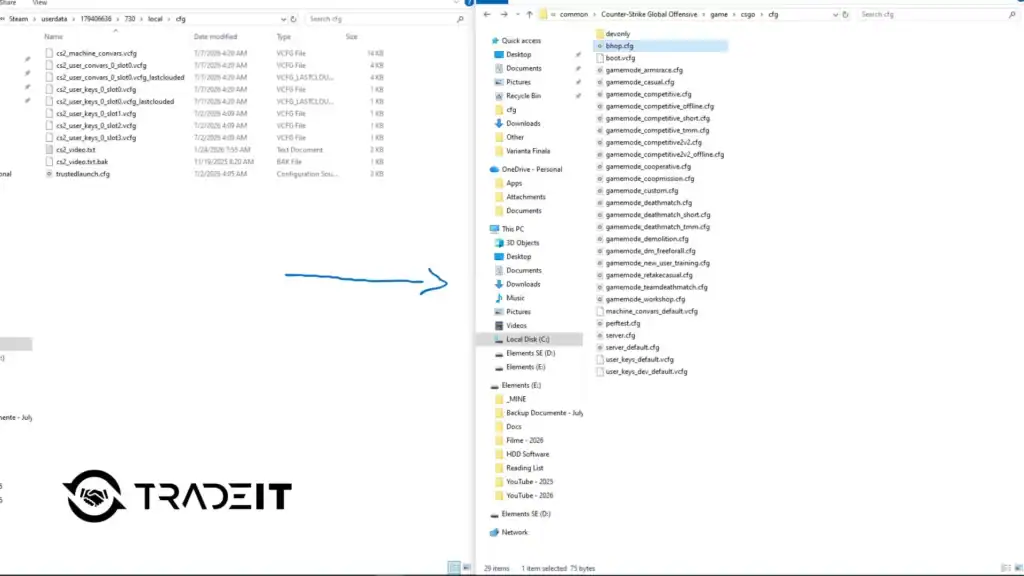
If you’re wondering how to transfer your CS:GO config to CS2, the process is fairly simple. Copy your old config.cfg or autoexec.cfg into the CS2 cfg folder. You can find your old config.cfg file in this folder:
Program Files (x86)\Steam\userdata\STEAM_ID\730\local\cfgThe crucial first step is finding your Steam ID, as this corresponds to the folder containing your config files. To locate your Steam ID, simply go to:
Open Your Profile
Click your Steam username and open your Profile.
Go to Inventory
Select Inventory from your profile page.
Open Trade Offers
Click Trade Offers from the Inventory page.
Open Trade Offer Privacy
Select Who can send me Trade Offers? to access your Steam trade URL and privacy settings.
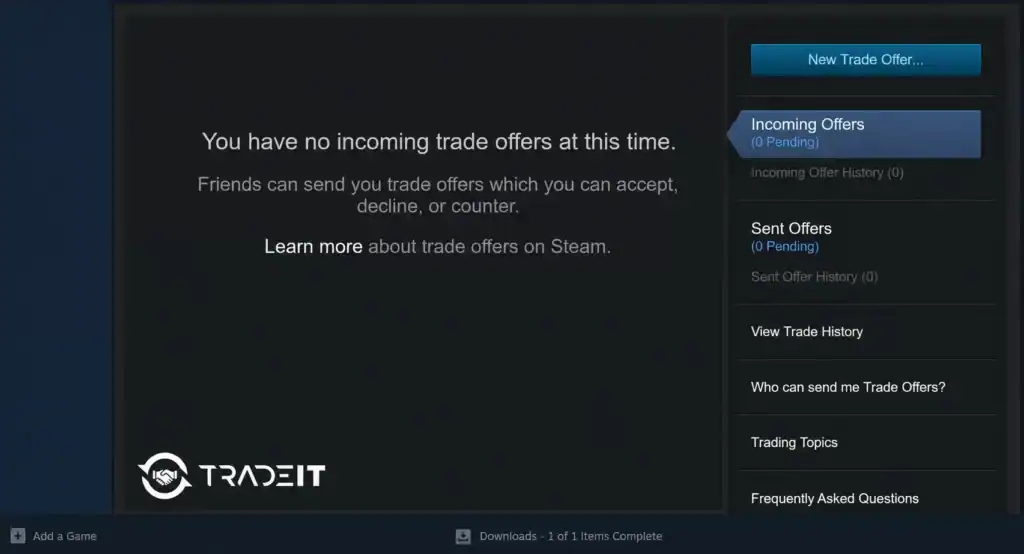
Remember that each player is assigned a unique Steam ID, which can be found in the URL. Once you have obtained your Steam ID, navigate to the userdata folder and follow the file path mentioned earlier.
However, don’t expect everything to work perfectly. Counter-Strike 2 uses the Source 2 engine, meaning some CS:GO commands have been removed or replaced.
After importing your configuration:
Test Your Keybinds
Verify that all movement, weapon, utility, and communication keybinds work as expected.
Verify Your Crosshair
Make sure your preferred crosshair has been imported correctly and matches your previous settings.
Check Your Video Settings
Review your resolution, graphics options, refresh rate, and display mode to ensure everything transferred correctly.
Remove Obsolete Commands
Delete any outdated CS:GO commands that generate console errors or are no longer supported in Counter-Strike 2.
Most common settings such as sensitivity, binds, and viewmodel values continue to work normally.
Common CS2 Config Problems and Fixes
Here are some common issues players encounter:
Config not loading
Make sure the file is named autoexec.cfg and not autoexec.cfg.txt.
Commands don’t work
Some CS:GO commands are no longer supported in CS2. Remove outdated commands and use their current equivalents. Here’s a table of some of the most significant changes:
| CS:GO Command | CS2 Equivalent | What Changed |
|---|---|---|
net_graph 1 |
cq_netgraph 1 or Telemetry settings |
net_graph was removed. cq_netgraph and the in-game Telemetry settings are now used to display FPS, ping, packet loss, and other network information.
|
cl_showfps 1 |
cl_showfps 1 |
Still fully supported and remains one of the simplest ways to display your FPS counter. |
voice_enable 0/1 |
voice_modenable 0/1 |
voice_enable was replaced by voice_modenable to enable or disable voice chat.
|
m_rawinput 1 |
Removed — always enabled | Raw Input is permanently enabled in CS2, so the command no longer has any effect. |
cl_forcepreload 1 |
Removed | No longer supported in Source 2 and provides no performance benefit. |
mat_queue_mode |
Removed | Source 2 automatically manages CPU threading, making this command obsolete. |
r_drawtracers_firstperson 0 |
r_drawtracers_firstperson 0 |
Still supported. You can enable or disable first-person bullet tracers with this command. |
cl_updaterate |
Removed | Manual tick-rate tuning is no longer used in CS2’s networking model. |
cl_cmdrate |
Removed | Removed along with other legacy networking commands under CS2’s networking architecture. |
rate |
Automatically managed | CS2 automatically negotiates networking values, so manual tuning is generally unnecessary for normal play. |
cl_interp / cl_interp_ratio
|
Engine-managed | The old CS:GO interpolation workflow no longer applies. Most interpolation behavior is handled automatically by the engine. |
fps_max |
fps_max |
Still supported and commonly used to cap or uncap FPS. |
viewmodel_* commands |
Still supported | Most viewmodel customization commands continue to work normally. |
bind |
bind |
Unchanged. Existing keybinds generally work without modification. |
exec autoexec |
exec autoexec |
Still fully supported and remains the recommended way to load an autoexec.cfg file.
|
host_writeconfig |
Rarely needed | CS2 automatically saves most settings, so manually forcing a configuration save is only occasionally useful. |
Settings reset after every launch
Ensure your autoexec.cfg is loading correctly by adding the following command to your Steam launch options:
+exec autoexec.cfg
FAQ
Where is the CS2 config location?
The default location is this:
C:\Program Files (x86)\Steam\steamapps\common\Counter-Strike Global Offensive\game\csgo\cfg
How do I add a config to CS2?
Copy the configuration file into the cfg folder and execute it using: exec filename.
For automatic loading, use an autoexec.cfg together with the launch option: +exec autoexec.cfg.
Can I use my old CS:GO config in CS2?
Yes. Most settings such as keybinds, sensitivity, and crosshair transfer without problems. However, some Source 1 commands have been removed, so you should test the config and delete any unsupported commands.
Is using an autoexec.cfg allowed in Premier and matchmaking?
Yes. Using an autoexec.cfg is completely allowed in Premier, Competitive, and matchmaking. It simply loads your personal settings, keybinds, crosshair, and other console commands automatically when the game starts. As long as it doesn’t contain cheats or unsupported commands, it’s perfectly safe to use.
Can I use a pro player’s config directly in CS2?
Yes. You can copy a professional player’s config into your cfg folder and load it in CS2. However, remember that settings such as sensitivity, resolution, and keybinds are highly personal. Most players use a pro config as a starting point and then customize it to match their own preferences.
Why does my autoexec.cfg not run when CS2 starts?
The most common causes are an incorrect file name (for example, autoexec.cfg.txt), placing the file in the wrong cfg folder, or forgetting to include the appropriate launch option. You can also test whether the file works by opening the developer console and running exec autoexec manually.
Do I need +exec autoexec.cfg in launch options for it to work?
Not always. Many players find that CS2 loads autoexec.cfg automatically if it’s placed in the correct cfg folder. However, adding +exec autoexec.cfg to your Steam launch options is still recommended because it guarantees the file executes every time the game launches.
Can I disable Steam Cloud sync for my CS2 config?
Yes. Open your Steam Library, right-click Counter-Strike 2, select Properties, and disable Keep games saves in the Steam Cloud. This prevents Steam Cloud from syncing your local configuration files, which can be useful if you frequently switch between different configs or multiple PCs.