Are you ready to elevate your Counter-Strike 2 gameplay to the next level? Mastering the art of keybinds can be a game-changer in competitive matches, enhancing your control, speed, and efficiency. In this comprehensive guide, we’ll uncover the best binds for CS2, including essential, advanced, and creative binds that can give you an edge.
My Counter-Strike experience taught me that as soon as you start using CS2 binds, you’re on a different level. Of course, you shouldn’t stop there, but it’s a good thing to have in your arsenal.
Key Takeaways
- Master essential CS2 binds, such as grenade and jump-throw binds, to maximize in-game capabilities.
- Customize game features with advanced binds for an edge over opponents.
- Create custom keybinds by understanding bind commands and experimenting with different keys.
Essential Binds for CS2 Players
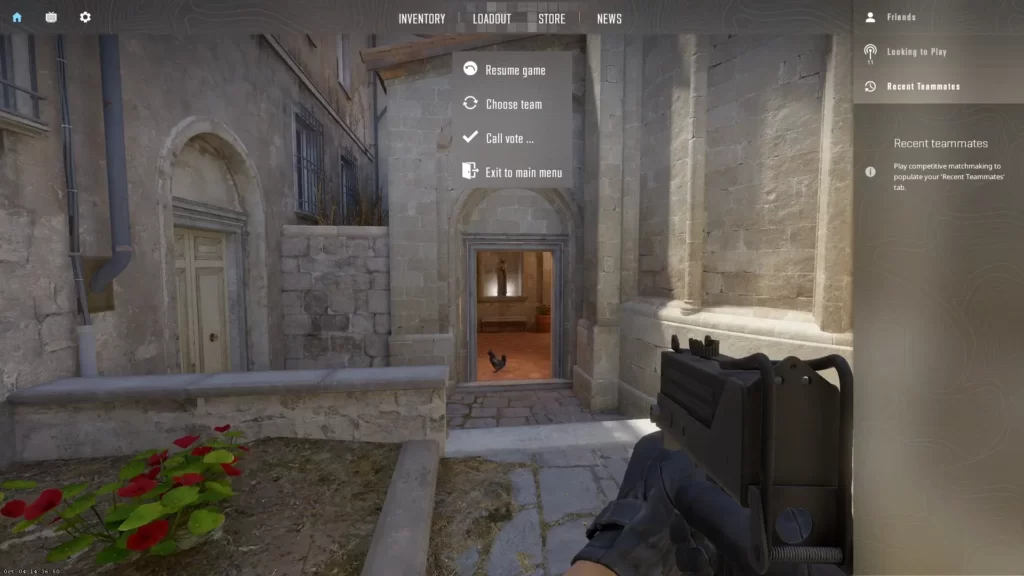
Binds play a pivotal role in CS2, allowing players to execute various commands by pressing specific keys like bind alt for a particular action. Customizing keybinds enables players to take full advantage of their in-game capabilities.
Some essential binds commonly used to improve gameplay include binding each grenade to separate input buttons, a jump-throw bind, a mouse wheel jump bind, and a quickswitch bind.
TIP: See a complete list of CS2 skins on Tradeit.
Grenade Binds
| COMMAND | WHAT IT DOES |
| bind capslock “slot7” | Binds your Flashbang to your Capslock |
| bind c “slot8” | Binds your Smoke grenade to your ”C” key |
| bind x “slot6” | Binds your HE grenade to your ”X” key |
| bind alt “slot10” | Binds your Molotov grenade to your ”Alt” key |
In terms of efficiency and speed, optimal use of grenades is paramount in CS2. Assigning each grenade to its own button through grenade binds expedites the process of deploying a nade by canceling the throw animation.
The absence of grenade binds can lead to inefficiency during an attack and even death during a rush.
Grenade binds improve efficiency and allow for better strategic planning and coordination with teammates.
Assigning each grenade to a specific key enables players to swiftly perform required maneuvers and adjust to the dynamic nature of the match, thereby gaining a competitive edge.
TIP: Discover the most expensive CS2 knife.
The Jump-Throw Bind and the Jump-Run-Throw
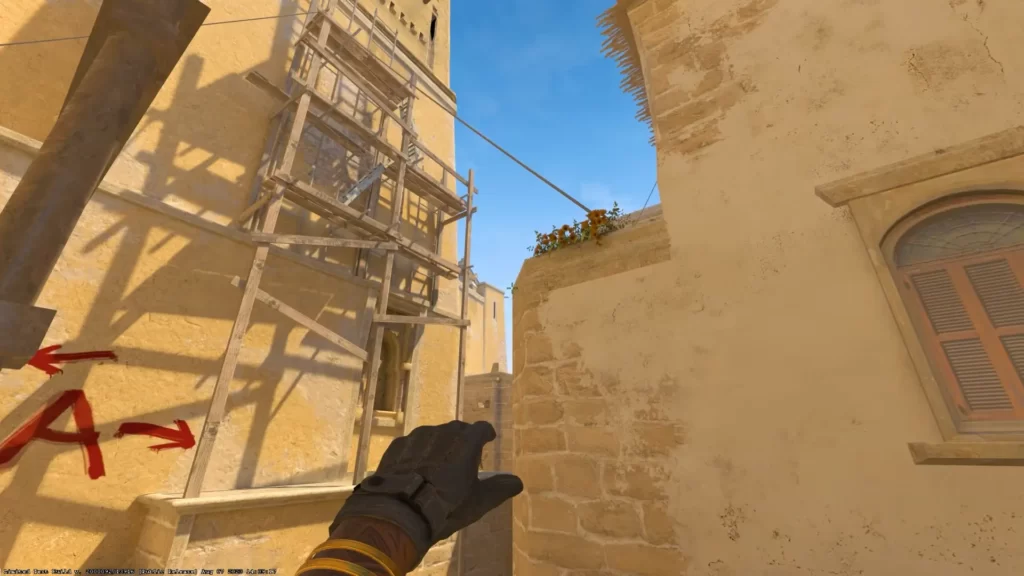
The jump-throw bind is a key assignment that allows players to toss a grenade at the apex of their jump, ensuring greater precision and consistency. To utilize a jump-throw bind, a player must first draw out a smoke and then press the key to which the bind is assigned.
While most platforms like FACEIT permit jump-throw binds, it’s wise to verify beforehand if participating in a serious tournament, as some organizations may not allow the binding of two actions to one button.
Employing the jump-throw bind enables players to stay crouched while jumping, allowing for greater elevation and accurate smoke throws in CS2. Mastering this bind can significantly improve your grenade throws, leading to better positioning and control of the battlefield.
To create a jump-throw bind, here’s what you need to do:
- Go to your game’s cfg folder and create a new file called binds.cfg.
- Open the file in Notepad and copy this code in it, changing KEY to your preferred key.
alias "+ju" "+jump";
alias "+ja" "-attack; -attack2";
alias "+jum" "-jump";
bind "KEY" "+ju; +ja; +jump;
The code for the run-jump-throw bind is very similar:
alias "+wthrow" "+forward;+jump;";
alias "-wthrow" "-jump;-forward";
bind "KEY" "+wthrow;+ja";
After completing these steps, close the file and type exec binds in your console while in CS2.
TIP: Discover the most expensive CS2 skins.
Mouse Wheel Jump Bind
The mouse wheel jump bind is a key assignment that lets players perform jumps using their mouse’s scroll wheel, simplifying bunny hopping and improving movement.
Utilizing the mouse wheel jump bind in CS2 can facilitate smoother bunny hopping and augment visual-motor coordination, thereby improving gameplay.
Imagine being able to perform impressive bunny hops with ease, evading enemy fire, and traversing the map like a parkour master – all thanks to a simple bind!
In the same binds.cfg file, add this code:
- Type bind mwheeldown +jump to bind Jump to Mouse Wheel Down.
- Type bind mwheelup +jump to bind Jump to Mouse Wheel Up.
Quickswitch Bind
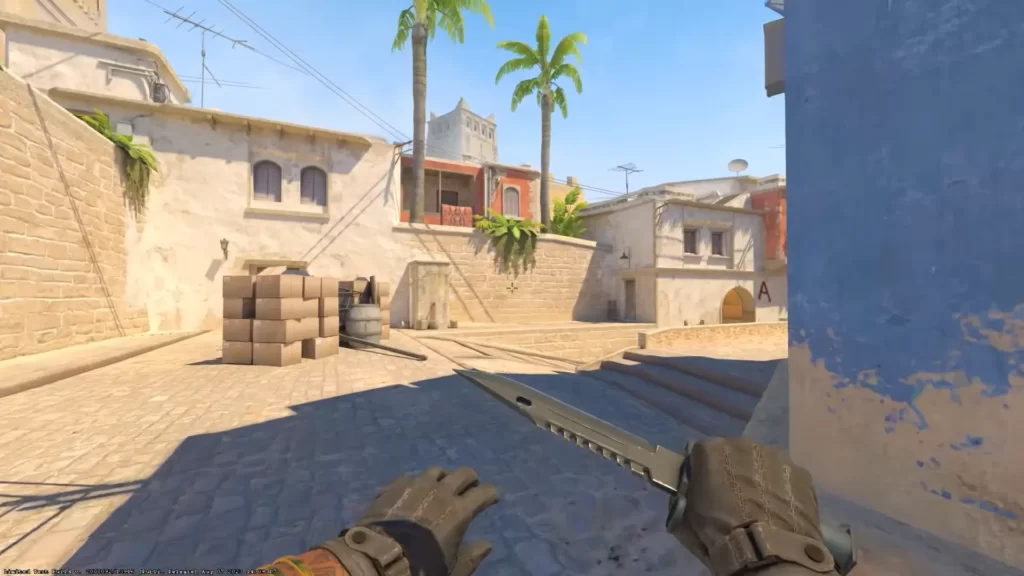
Quickswitch bind is a key assignment that allows players to swiftly toggle between weapons by pressing a single key.
Imagine being cornered by an enemy, and you desperately need to switch from your primary weapon to a pistol for a quicker shot.
A well-timed quickswitch may just be the difference between life and death in those crucial moments. Mastering the quickswitch bind can give you that extra edge in combat, making you a more formidable opponent on the battlefield.
In the same binds.cfg file, add this code:
bind “Q” +switchw
TIP: Discover the best place to buy CS2 skins.
Volume Change Bind
Sometimes, you may need to change the volume to hear enemy steps much better. Here is the command that you can use to create the bind you require:
bind KEY “incrementvar volume 0 1 0.25”;
Replace KEY with your preferred key for the bind.
TIP: Discover the cheapest CS2 knife.
Customizing Binds through Game Settings and Developer Console
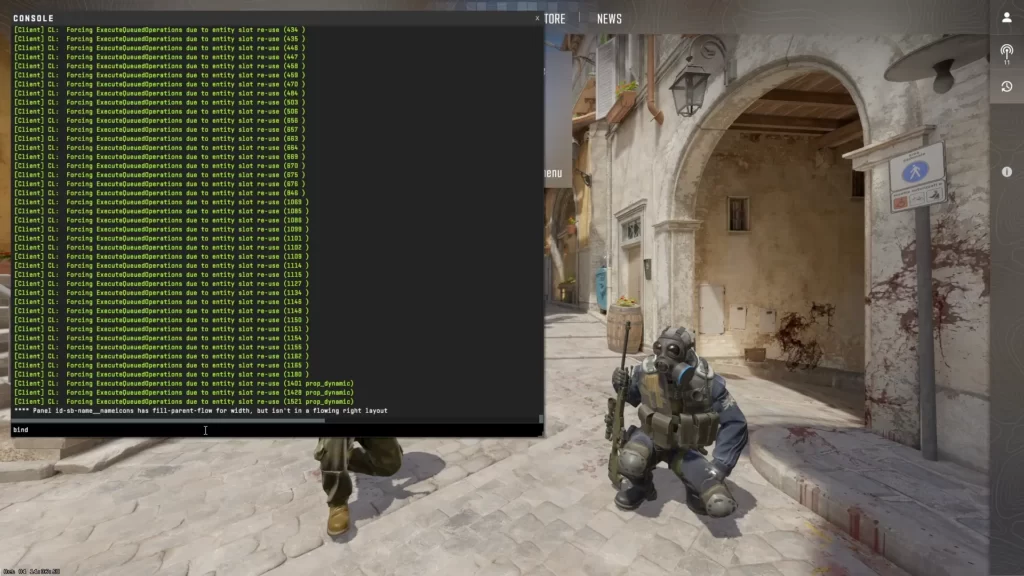
To gain full control over your keybinds and set up a personalized configuration, you must understand how to modify binds via game settings and the developer console.
In this section, we’ll explore these two methods and how they can be used to create an optimal keybind configuration for your unique playstyle, using a config file as a reference.
TIP: Visit the best trading site for CS2.
Game Settings Method
Changing keybinds in CS2 is most straightforward using the game settings method. By accessing the Developer Console through the ‘Settings’ menu and selecting the ‘Game’ tab, you can customize keybinds according to your preferences.
This method allows you to easily adjust your keybinds, providing a more accessible way to optimize your control scheme.
For those new to keybind customization, the game settings method is an excellent starting point. Experiment with different keys and functions until you find a comfortable setup that enhances your gameplay. Remember that the best keybinds are subjective and depend on individual preferences and playstyle.
TIP: Learn about the best knives in CS2.
Developer Console Method
| COMMAND | WHAT IT DOES |
| bind | This command will bind a command, or list of commands, to a key on your keyboard or button on your mouse. |
| unbind | Removes a previously created bind. |
| bindtoggle | This command assigns a hotkey to switch through the various values a specified console command has (when pressed or clicked). |
| key_listboundkeys | This console command lists all of the keys and buttons you have that have a specific action bound to them (e.g. the space bar being bound to jump). |
Here’s how to open the developer console.
For experienced users or those acquainted with console commands, the developer console method provides a more bespoke way of customizing keybinds. You can create custom binds tailored to your specific needs and preferences.
This method allows for greater flexibility and control over your keybind setup. Whether you’re looking to create a complex bind for advanced maneuvers or simply want to fine-tune your existing binds, the developer console method provides the tools necessary to create a truly optimized control scheme.
TIP: Discover the cheapest CS2 skins.
Summary
Mastering the best binds for CS2 can significantly enhance your gameplay experience, providing you with greater control, efficiency, and strategic advantage.
By customizing your keybinds using essential, advanced, and creative binds, as well as experimenting with different keys and alias functions, you can create an optimized control scheme tailored to your playstyle.
Frequently Asked Questions
Bind keys in CS2 by choosing a command and assigning a key to it. To do this, open Counter-Strike 2 from your Steam client, enter the Keyboard / Mouse category in the Settings Menu, and choose a section and binding you want to change.
Keybind customization in CS2 provides players with an enhanced gameplay experience, allowing them to bind specific commands to a single key.
Customize keybinds using the game settings method by accessing the Developer Console through the ‘Settings‘ menu, selecting the ‘Game‘ tab, and adjusting keybinds to your preferences.


