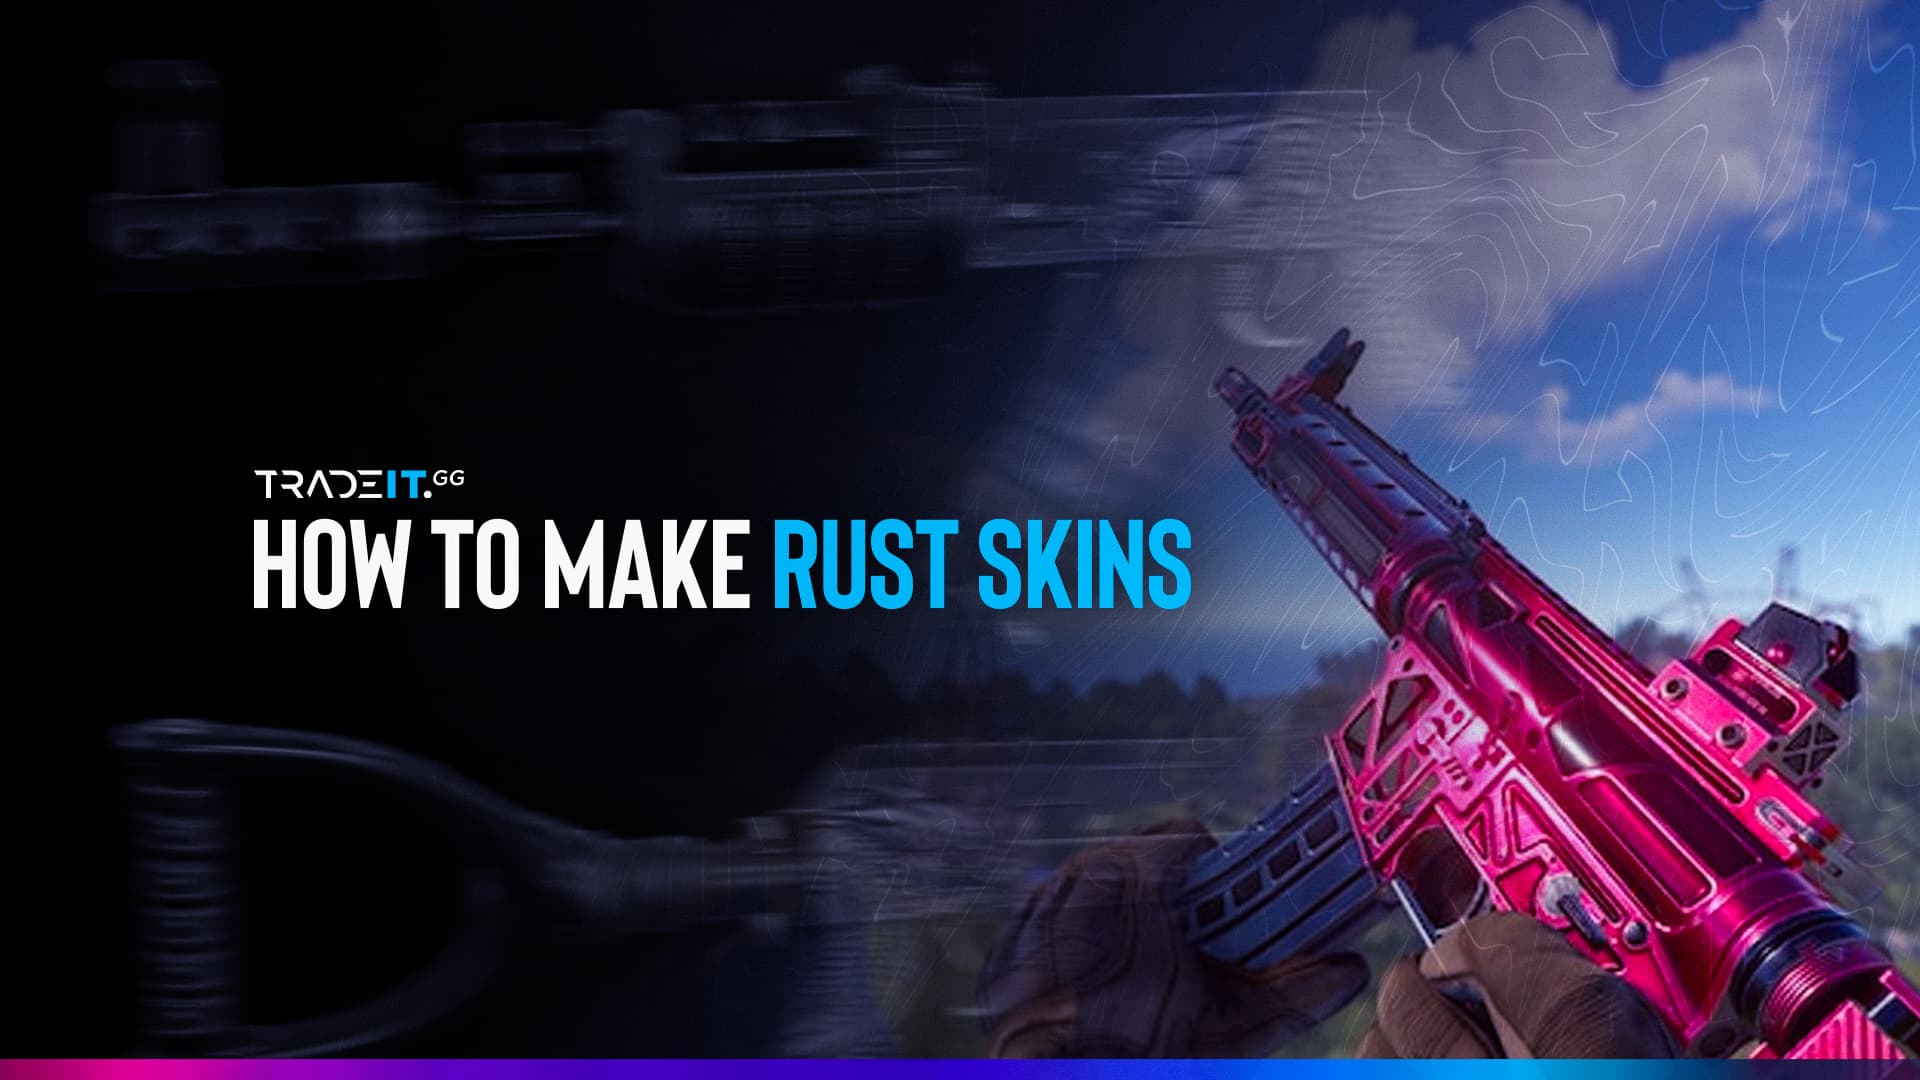
Rust itself is brutal but it’s also highly customizable. Different servers allow you to play in different ways. Another way to customize your experience is by purchasing skins. You can do this on Tradeit.gg, inside the game, or on the Steam Market. You can also learn how to make Rust skins if you want, but that’s a bit more complicated.

Ways of Obtaining Rust Skins
If you want to own a lot of skins, the best way to go about it is to buy Rust skins from other sources. Free skins are usually cheap and will be offered to you from time to time by the game’s system if you play the game regularly. But if you want something specific or don’t want to wait weeks for a few free random skins, you can make a purchase.
Buying Rust skins is not difficult at all. If you do it on Steam, you just need to log into your Steam account, make sure that your Steam wallet has enough money to allow you to buy what you want, and then search for the Rust items you are interested in using the Search feature, which you can find by going to Community -> Market.
To find new skins, some players like to open skin crates, such as the low-quality bag, high-quality crates, or weapon barrels. Buying and opening a skin crate is very easy and can be done inside the game.
Trade and Buy Rust Skins
You can also sell Rust skins this way, but it’s a much better idea to sell them on Tradeit.gg because you’ll be able to use the money outside of Steam.
You can also trade Rust skins and hopefully find some good deals while doing so.
The price of a Rust skin varies based on its rarity and other factors. When you set out to obtain skins by purchasing them on the Steam community market or somewhere else, you need to have a budget and then figure out what you can afford.
Skins in Rust are extremely diverse, so when you buy skins you need to also know what item you are buying them for.
Some people trade Rust skins to make money. These in-game cosmetics can cost a lot of money.
How to Make Skins in Rust

Artists create Rust skins using the Steam Workshop. Depending on your goal, the process can be relatively simple of highly complex.
Most players create skins in Rust from the Workshop tab inside the game. Click on “Create a new item” and you’ll be taken to the Workshop. Here, you can select the type of item for which you want to create your skin. Here are some of the options:
- Shorts
- Stone Pick Axe
- Sword
- Table
- Wooden Door
- Work Boots
- Sheet Metal Double Door
- Tshirt
- Combat Knife
- Chair
- Cap
- Burlap Shirt
- Burlap Shoes
- Fridge
- Furnace
- Garage Door
- Hammer
- Etc.
The list goes on and on. You can practically create a custom Rust skin for any item in the game. Once you’ve selected the type of item for which you want to create your Rust skin, click on Edit.
Edit Options
On the Edit tab, you will find a lot of options. The list includes:
- Diffuse
- Color
- Alpha Cutoff
- Normal
- Normal Scale
- Specular / Gloss
- Spec Color
- Glossiness
- Occlusion
- Occlusion Scale
- Emission
- Emission Color
- Fuzz Mask
- Fuzz Scatter
- Fuzz Color
- Fuzz Occlusion
- Dirt Amount
- Dirt Color
Each of these options is there to allow you to make your Rust skin design as precise as possible, based on what you wish to create.
Some options are more sophisticated than others, but you can check what everything does instantly because you have an avatar that wears your skin and shows you in real-time how the selected value impacts the design.
Make sure you experiment with all the options until you achieve what you want. If you’re completely new to the game and you are trying to learn how to design Rust skins, it’s always a good idea to start with a T-shirt. That’s because this item has features that allow you to check quite easily what the various Edit options do.
When you create your custom Rust skins, don’t forget to save the individual textures to disk. Click on each of the “Default” options and then save them. You will notice that they become .png files when you do this.

Other considerations
Each time you create a custom skin, you learn a bit more about how to do it properly. But the process itself is quite simple when you use the in-game Workshop.
Always keep in mind that you can always check the in-game item shop first. The Rust item store might already contain what you’re trying to create, so if you don’t have much time available to learn how to create Rust skins, check it out!
Advanced Rust Skin Creation
After you have saved your skin textures, the next step, if you want to personalize your designs even further, is to upload them in Adobe Photoshop.
From here on, the process becomes highly sophisticated, and you will need to be a graphic designer to know what can be done and how.
It’s not rocket science, but without knowledge of Photoshop, you cannot perform the adjustments you want. The good news is that even a basic Photoshop tutorial will be sufficient to allow you to do minimal customizations, which you can then upload and utilize in Rust.
It can be extremely satisfying to see that something you’ve worked hard to create in Photoshop can then be utilized inside the game to complete a design that will probably look much better than the default skin. Sooner or later, every Rust player will want to try this.

How to Use Rust Workshop Skins
Rust Workshop skins can be utilized inside the game by applying them to your Rust items. If you own a Rust skin, the standard method of utilizing it is this:
- Go to your inventory
- Select an item
- Select one of the Rust skins available for your chosen item
- Click on the Craft button
Using this process, your selected skin will be applied to your selected item. The process can be repeated, and it’s very easy to complete.


