Ever wished you could get a closer look at those CS2 skins besides the usual in-game glance? Yeah, us too. We’ve all been there, practically nose-to-screen, trying to decide if that AWP | Asiimov is worth the pixels.
Well, fret no more, fellow firearms fashionistas! This guide will be your key to unlocking a world of skinspection (patent pending). So, grab your keyboard, prime your peepers, and get ready to inspect the heck out of those virtual weapons!
Key Takeaways
- To inspect skins in CS2, enable the developer console in settings, navigate the in-game menu to access your inventory, and adjust your inspection preferences for a personalized experience.
- Use the ‘Inspect in Game’ option to closely examine your skins’ aesthetics and wear levels, and utilize the advanced skin inspection tactics like deciphering wear level and using external tools for a more detailed analysis.
- Customize your skin inspection experience by tweaking visual settings, recording inspections, sharing your findings with the community, and employing skin inspection servers to try out different skins in a virtual environment.
Preparing to Inspect Skins in CS2
The foundation of your skin inspection journey begins with enabling the developer console in CS2. This console is the gateway to a plethora of advanced features that will assist you in inspecting skins.
Activating the Developer Console
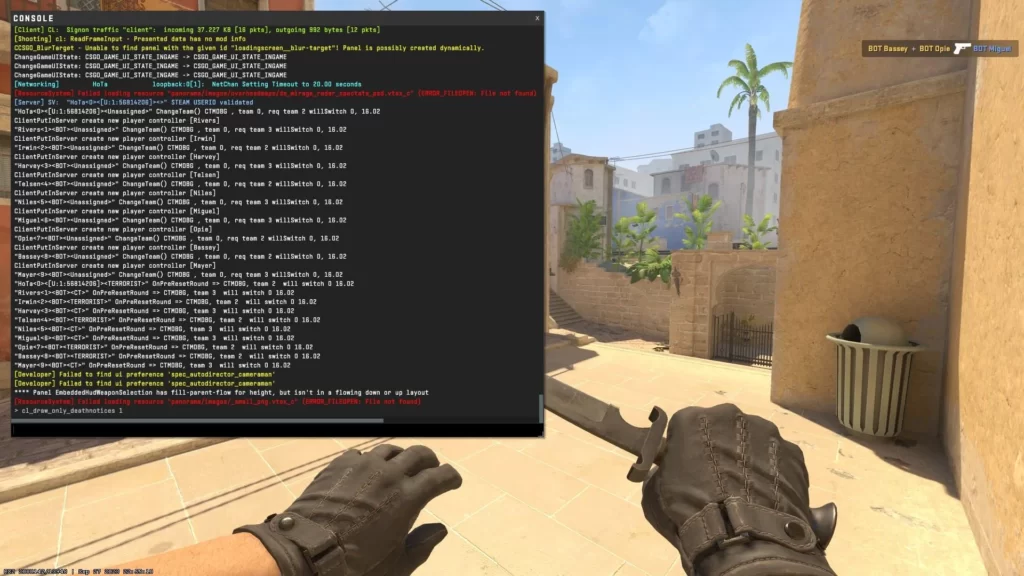
Now, let’s dive into how you can enable developer console. Ready? Here’s how:
- Go to the main menu
- Select ‘Settings’
- Navigate to the ‘Game’ tab
- Choose ‘Yes’ next to the enabling developer console option
That’s it! You’ve just unlocked an array of advanced features that will enhance your skin inspection experience.
But what if you’re a Steam client user? Worry not! You can also enable the developer console by adding the launch options ‘-console’ or ‘-dev’ in the ‘General’ tab under ‘Properties’.
To learn more, check out: Best CS2 Commands
Navigating the In-Game Menu

Navigating the in-game menu can seem intimidating at first, but it’s easier than you think.
- To access the main in-game menu, press the ‘Escape’ key while in a live match.
- From here, you can access your ‘Inventory’, where all your skins are neatly displayed.
The in-game menu also comes with a handy settings search bar at the top, which can be found on the settings page. This tool can help you find specific options or settings related to skin inspection in a jiffy.
You can also sort and filter skins within your ‘Inventory’, making it easy to manage and organize your collection.
Inspecting Your Own Skins
You can view the intricate details of your skins in all directions, giving you a complete understanding of their design and allowing for personal expression.
As you inspect your skins, remember to pay attention to their aesthetic qualities and evaluate their wear level. This can give you a fair idea of their value.
Accessing Your Skin Collection
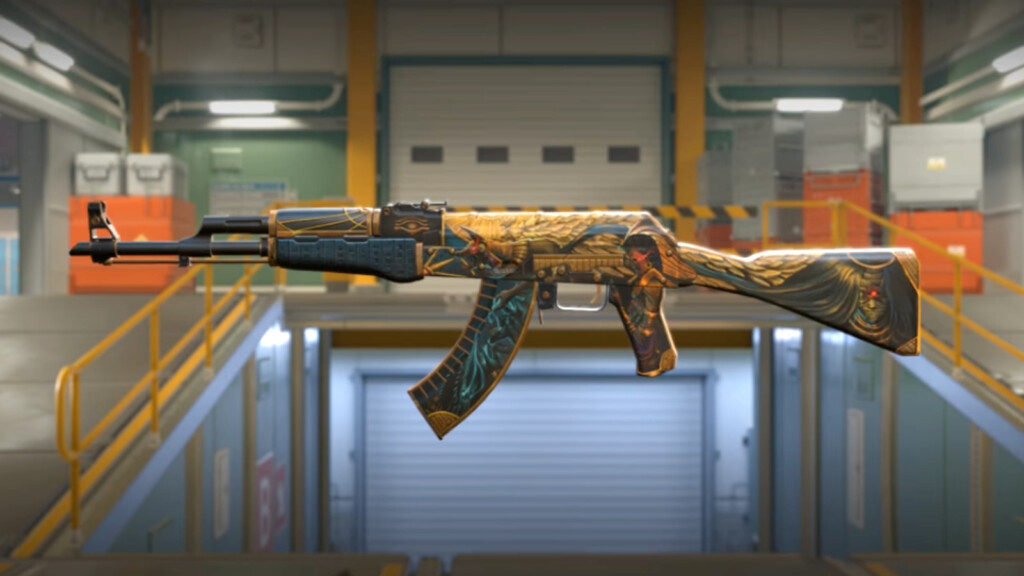
To access your personal collection of skins, you need to navigate to your inventory within the game. Visualize it as a personal gallery where your skins are displayed in all their glory. The inventory gives you a clear view of your skins’ style and arrangement, helping you to make the best selection for your character.
Scouring through your inventory is a breeze thanks to the scroll functions in the server interface. With easy navigation, you can swiftly sift through your skin selections and choose the ones you want to inspect.
Also Check Out: Best CS2 Skins
Using the Inspect Feature
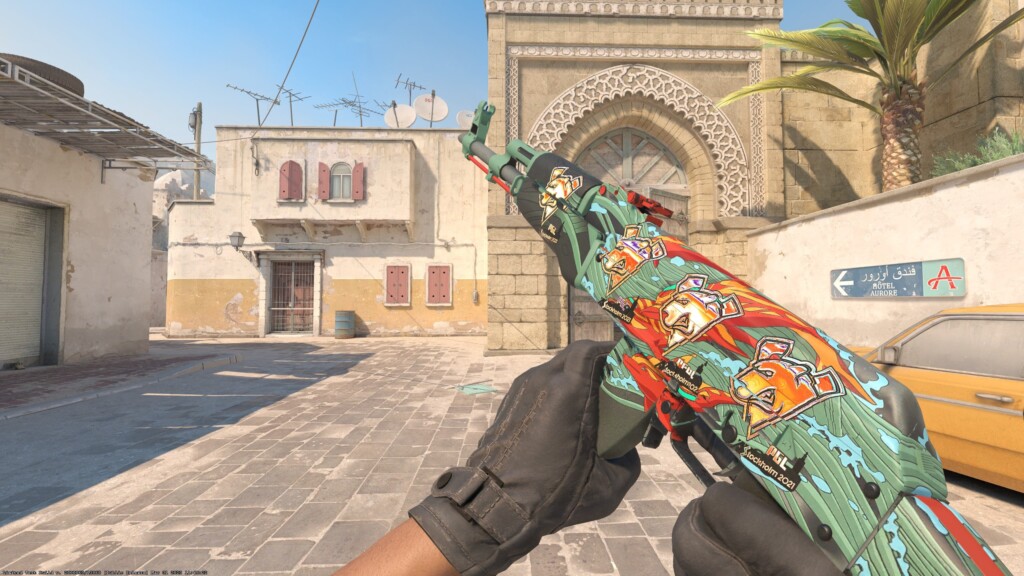
To start inspecting, locate a skin in your inventory and right-click to select ‘Inspect in Game’. This will give you a detailed view of the skin, allowing you to experience its color schemes, textures, and other design elements up close.
The inspect feature also lets you examine a skin’s animations and how it feels during gameplay, such as its reload animations and compatibility with in-game settings. It’s like a tactile and visual investigation that unveils the subtleties of the item’s design.
Exploring Other Players’ Skins
CS2 skin inspection servers are platforms designed to allow users to preview and experience others’ in-game skins, providing a range of customization options for a personalized experience.
These servers enable players to interact with and explore different skin variations before making any purchases. This is where you can dive deeper into the ocean of CS2 skins and discover treasures that you never knew existed!
To begin your exploration, you’ll need to acquire inspect links for the skins you wish to preview. Once you have these links, you can input them into the CS2 skin inspection server’s chat and start inspecting the other player’s skin.
Gathering Skin Inspect Links
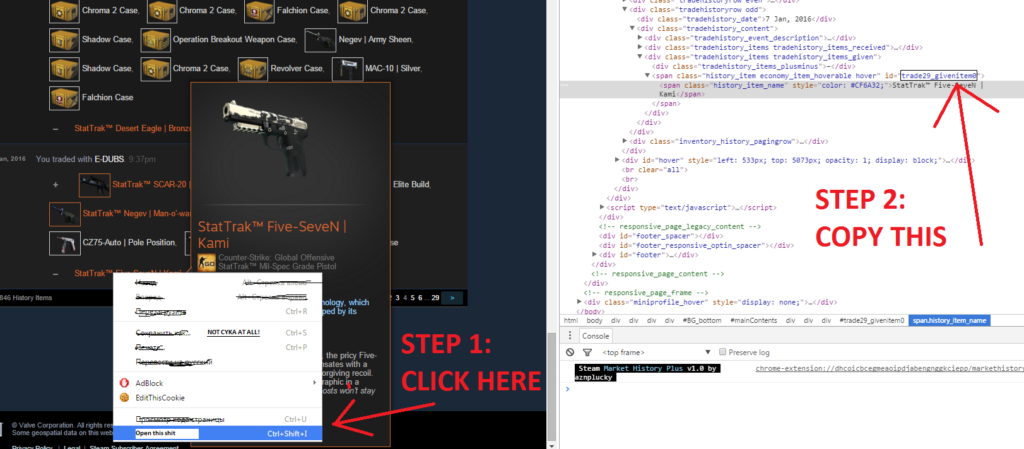
You can find these links on the Steam Community Market or external trading websites. Once you’ve found the skin you’re interested in, simply select the ‘Inspect in Game’ option to get the link.
After acquiring the link, it needs to be correctly formatted and inputted into the developer console of CS2 to inspect the skin. Think of it as entering a secret code to unveil a hidden treasure.
Advanced Skin Inspection Tactics
Advanced skin inspection tactics are your roadmap to becoming a seasoned skin inspector. Like a seasoned detective, you’ll learn to look beyond the surface and decipher the intricate details of each skin.
Deciphering Wear Level and Special Features

The wear level of a CS2 skin, denoted by its float value, is a critical factor in assessing the skin’s quality. Contrary to popular belief, the float value of a skin does not change over time or with use. So, rest assured, your intense gaming sessions won’t wear out your skins!
While the wear level gives you an idea about the condition of a skin, special features like StatTrak technology and the skin’s pattern index add to its visual appeal.
These features play a significant role in the skin’s evaluation and should be taken into account during inspection. Now, let’s learn about external inspection tools.
Utilizing External Inspection Tools
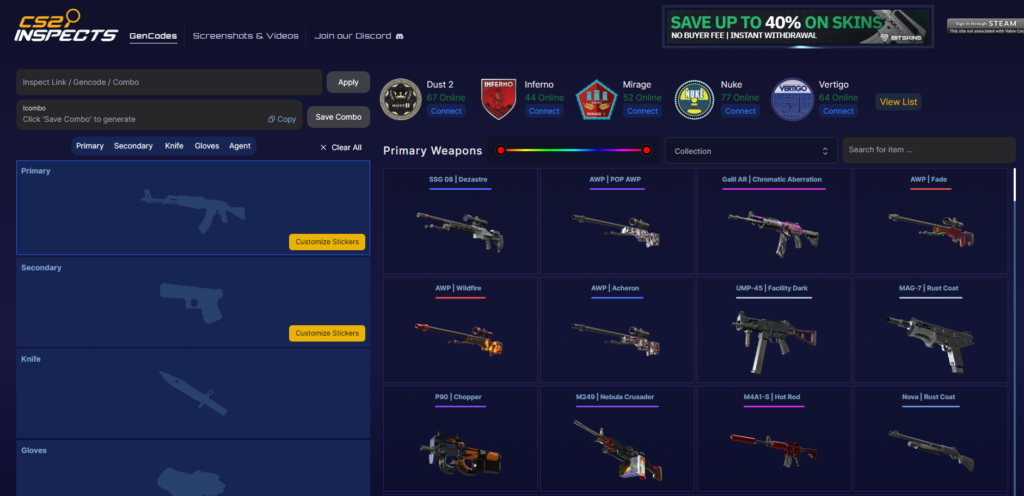
Third-party services and servers offer advanced capabilities for inspecting CS:GO skins beyond what’s available in-game. These tools are like high-powered magnifying glasses that give you a closer look at the skins.
CS:GO, a popular game in the Counter Strike series, offers skin tester tools or websites that allow you to preview how different skins appear on weapons or characters.
Plus, dedicated ‘inspect servers’ enable you to explore, record, and share various skins within the community using inspect links.
Customizing Your Inspection Experience
Customizing your skin inspection experience is like tailoring a suit to fit you perfectly. It’s all about personalizing your gaming experience to reflect your unique style. This can be achieved by adjusting inspection settings and recording and sharing your findings.
Start by tweaking the following visual settings to enhance the visual clarity of skins:
- Lighting
- Contrast
- Saturation
- Sharpness
Then, record your skin inspections and share them on platforms like YouTube and social media to engage with the community.
Skin Inspection Servers
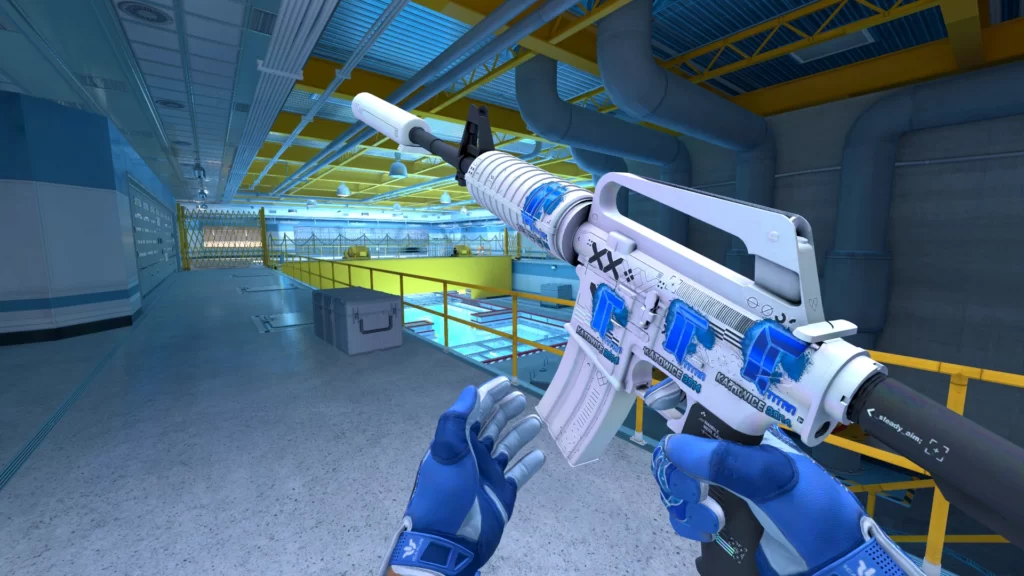
Skin inspection servers in CS2 are dedicated platforms that provide an immersive environment for previewing and interacting with skins in CS2. They’re like virtual showrooms where you can inspect skins with various gloves, agents, backgrounds, and lighting.
To use an inspection server, you need to:
- Join the creator’s Discord
- Verify yourself
- Navigate to a channel with server IPs
- Launch CS2
- Open the developer console
- Connect to the server using an IP address
You can generate or obtain inspect links for skins through websites like CS2Inspects.com or csfloat.com/db and use them on the inspection servers to spawn and inspect those skins, making it easier to gen code for your desired items.
Summary
We’ve come a long way in our journey through the world of CS2 skins. We’ve learned about the preliminary steps to inspect skins, how to inspect your own skins, and how to explore other players’ skins. We’ve also delved into advanced skin inspection tactics, customizing the inspection experience, and finally, skin inspection servers.
Frequently Asked Questions
To enable the developer console in CS2, you can access the game’s settings and modify the relevant option. Additionally, if you’re using the Steam client, you can add the launch options ‘-console’ or ‘-dev’ in the ‘General’ tab under ‘Properties’.
You can inspect your own skins by going to your inventory and selecting ‘Inspect in Game’ for a detailed view of the skin.
To inspect other players’ skins in CS2, you’ll need to obtain inspect links for the skins you want to preview and then enter them into the CS2 skin inspection server’s chat. Happy inspecting!
To conduct advanced skin inspection, it’s important to understand wear level and special skin features, and make use of external inspection tools for a thorough analysis.
Skin inspection servers are immersive platforms designed for previewing and interacting with skins in CS2. They allow you to inspect skins with different gloves, agents, backgrounds, and lighting.


