CS2 stickers are valuable cosmetic items. Some of them have become legendary inside the game’s community, reaching prices of tens of thousands of dollars.
Over the years, one of the major problems with stickers was that once you applied them to your gun, they could no longer be recovered. To solve this problem, Valve introduced something called a Sticker Slab, which allows you to recover your applied stickers for a small price.
This guide walks you through everything you need to know about using a Sticker Slab in CS2.
Table of Contents
What Is a Sticker Slab in CS2?
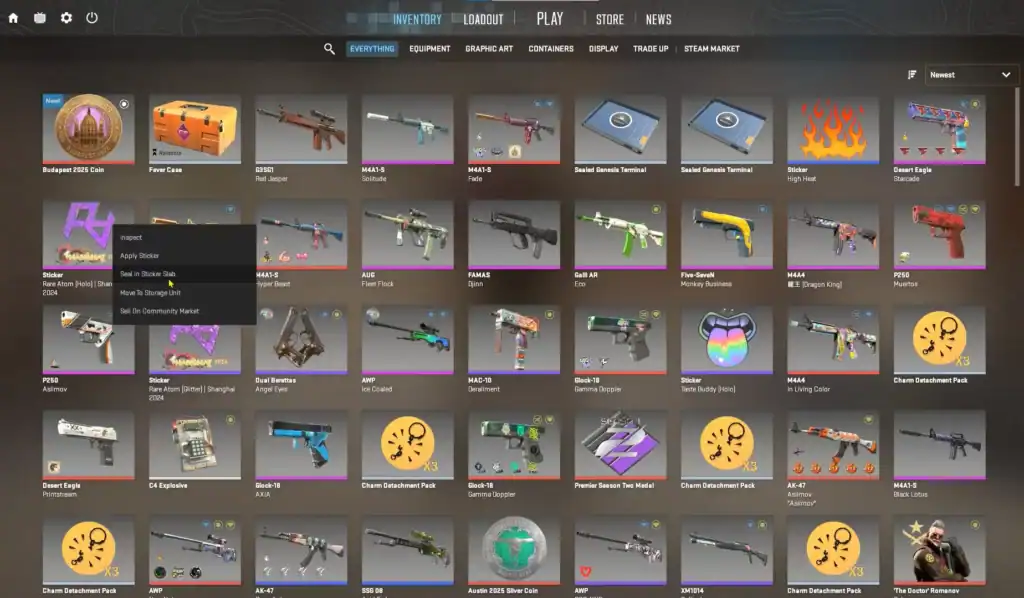
A Sticker Slab is a special cosmetic item that functions as a canvas for stickers.
Instead of placing stickers directly on weapons, players apply them to the Slab, which is then attached to a weapon.
This gives you the flexibility to mix, match, and rotate sticker designs without permanently modifying your weapon skins and, more important, without permanently consuming your stickers.
Once your Slab is prepared, it becomes part of a customized Charm you can equip on any compatible weapon.
How to Get a Sticker Slab
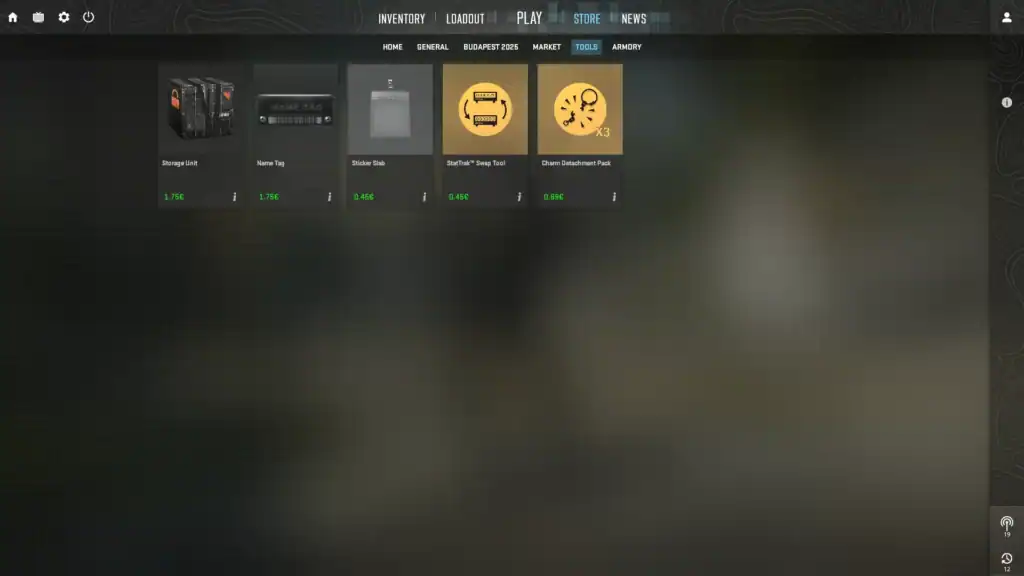
Sticker Slabs can be obtained through:
Earn Sticker Slabs naturally through random loot drops while playing CS2.
Some CS2 cases include Sticker Slabs as part of their loot pool.
Buy Sticker Slabs directly from the Steam Community Market at any time.
Limited-time CS2 events often include Sticker Slabs as exclusive rewards.
Most Slabs come in plain, metallic, or themed backgrounds. Some rare versions have animated textures or special frames that can enhance the final look of your Charm.
How to Apply Stickers to a Sticker Slab
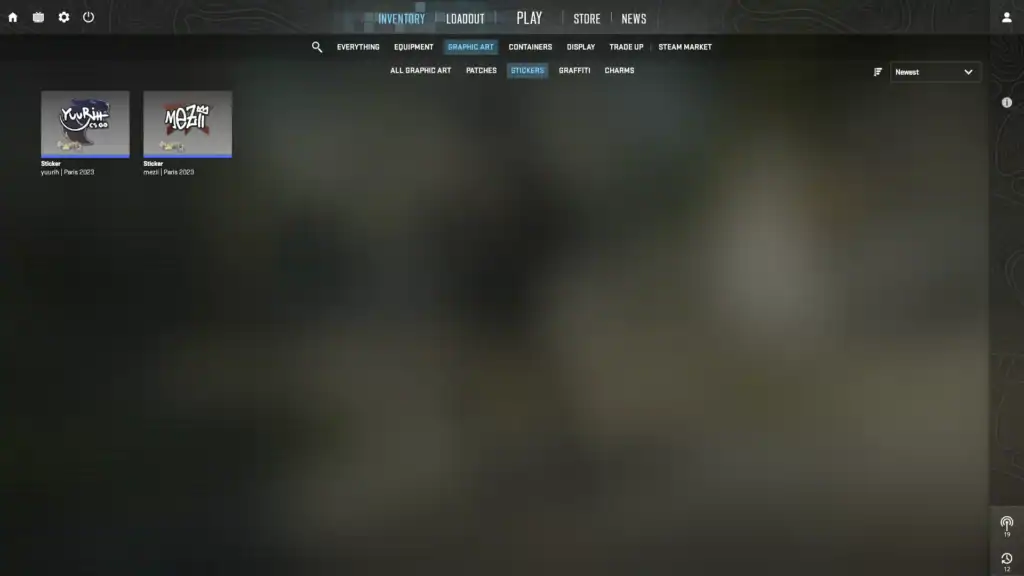
Using a Sticker Slab is simple once you know where to go. Follow these steps:
1. Open Your Inventory
From the CS2 main menu, navigate to the Inventory tab and locate your Sticker Slab. Its icon usually displays a rectangular plate or charm base.
2. Select “Customize Sticker Slab”
Click on the Slab and choose the Customize option. This opens the Sticker Slab editor, a workspace where you can preview and adjust sticker positions.
3. Add Stickers
Choose a sticker from your inventory and place it onto the Slab. You can:
Turn stickers clockwise or counter-clockwise to achieve perfect alignment on your Sticker Slab.
Resize stickers up or down to fit the design layout or highlight specific details.
Drag and position stickers anywhere on the slab surface for precise placement.
Depending on the Slab type, adjust sticker order to stack designs creatively.
Some Sticker Slabs allow multiple stickers, while others limit you to one. Make sure to experiment with positioning until it fits your desired look.
4. Confirm and Save
Once satisfied, click Apply or Save Customization. Don’t worry—this does not consume the sticker permanently unless the game specifies it. Many Slabs allow swapping and re-editing later.
How to Attach the Sticker Slab to a Charm
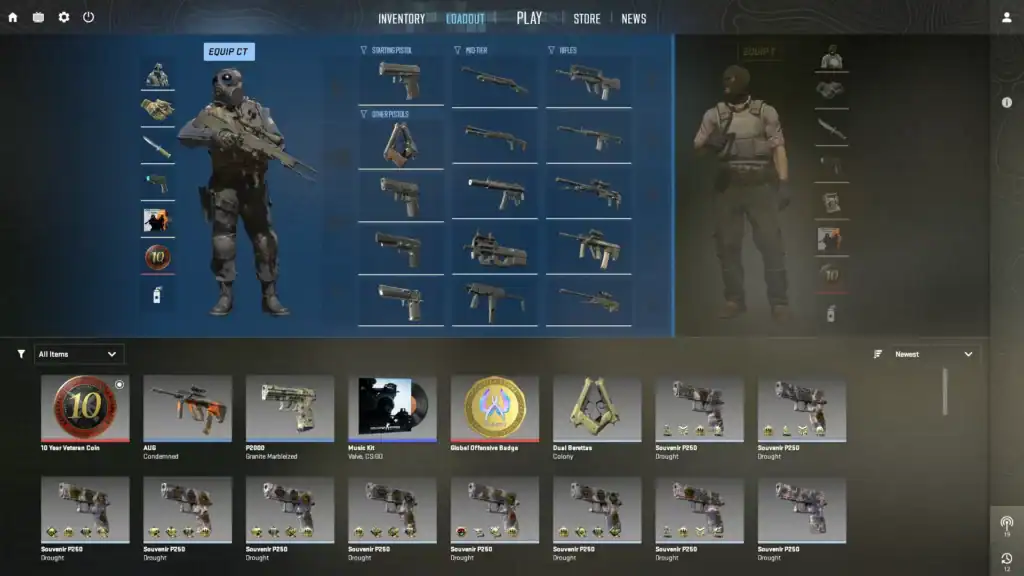
With your Slab customized, it’s time to attach it.
Go back to your Inventory and select the Charm you want to modify. Only Charms with a Slab slot support this feature.
In the Charm customization window, choose the Sticker Slab you edited. A live preview will show how it will appear on your weapon.
After attaching the Slab, select the weapon you want the Charm to appear on. Equip the Charm normally — your customized Sticker Slab will display alongside it.
Final Tips for Customizing Sticker Slabs
Choose stickers and Slab backgrounds with complementary color palettes for a cohesive aesthetic.
These stickers often look best on dark Slabs, enhancing reflections and depth in your design.
Reserve rare or valuable stickers for Slabs you plan to use long-term for maximum impact.
Lighting and in-game environments can affect how stickers and Slabs look, so always preview before finalizing.
With Sticker Slabs, CS2 finally gives skin collectors the freedom to craft unique cosmetic combinations.
Whether you want to show off team pride, meme stickers, or rare holographics, customizing Slabs is one of the most fun ways to express style in CS2 without permanently consuming your favorite stickers.
FAQs
1. Can I remove a sticker from a Sticker Slab without destroying it?
Yes. Unlike applying stickers directly onto weapons, Sticker Slabs are designed to be fully editable. You can usually remove or swap stickers without consuming them, unless the Slab specifically states that a sticker will be “applied permanently.”
2. Where do I remove a sticker from a Sticker Slab in CS2?
Go to Inventory → Select your Sticker Slab → Customize. Inside the editor, you’ll see the sticker layers. Select the sticker you want to remove and choose “Remove” or drag it off the slab depending on the Slab type.
3. Does removing a sticker refund it back to my inventory?
Yes. If the Sticker Slab supports non-destructive editing, the sticker returns to your inventory immediately after removal. You can reuse it on another Slab or on a weapon if the sticker type allows.
4. Why can’t I remove a sticker from my Slab?
Some Sticker Slabs have locked sticker slots or event-limited designs that permanently bind certain stickers. If the Slab is labeled as “one-time sticker application” or “non-removable”, the sticker becomes permanently attached. Check the Slab’s description in your inventory.
5. Do I need a special tool to remove stickers from a Sticker Slab?
No. Sticker Slabs don’t require a scraping tool or consumable item. All sticker adjustments (adding, removing, repositioning) are handled directly inside the Slab editor, making customization simpler than traditional weapon stickers.


