Hosting your own Counter-Strike 2 (CS2) server might sound like a daunting task, but with the right steps, it’s pretty straightforward. I’ve gone through the process myself, and I’m here to guide you through it. This tutorial will walk you through setting up a dedicated CS2 server, from renting a server to getting everything configured. Let’s dive in!
Step 1: Prepare Your Server
First things first, you need a computer or a rented server that meets the basic requirements.
You’ll want at least 8GB of RAM, a strong and stable internet connection, and around 20GB of free SSD storage.
If you’re using your own machine:
- Make sure it’s not your main gaming rig—dedicated servers are better off running on a machine that’s not doing anything else.
- Check your internet speed to ensure you have enough bandwidth. Ideally, you want a good upload speed since multiple players will be connecting.
If you’re renting server space:
- You’ll need to remotely connect to your rented server. For a Windows-based server, you’ll use Remote Desktop. On Linux, you’ll connect using SSH.
- Remote Desktop (Windows): Search for “Remote Desktop Connection” on your PC, enter the server’s IP address, and hit connect. You’ll need the username and password provided by your hosting service.
- SSH (Linux): If you’re on Windows, you can use a tool like PuTTY. Just enter the server’s IP address, and log in with your credentials.
Also Check: How to Play Danger Zone in CS2?
Step 2: Install SteamCMD
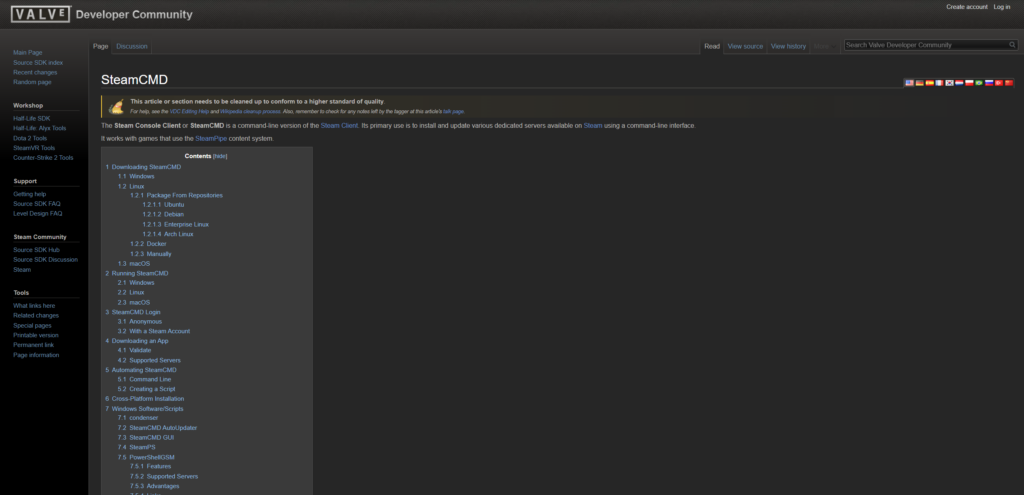
Next up, you’ll need SteamCMD, which is the tool you’ll use to install and update the CS2 server files.
Here’s how to set it up:
- Download SteamCMD:
- Head to the official SteamCMD page and download the tool.
- Extract the downloaded file to a folder on your server. A good spot might be
C:\SteamCMD.
- Run SteamCMD:
- Open the SteamCMD application. This might look like a command prompt or terminal window.
- Log in using your Steam account. Type
login your_usernameand hit enter. It’ll ask for your password, and possibly a Steam Guard code sent to your email.
- Set the Installation Directory:
- You need to tell SteamCMD where to put the CS2 server files. Type:
force_install_dir C:\cs2-serverand press enter. This setsC:\cs2-serveras the folder where all the server files will go.
- You need to tell SteamCMD where to put the CS2 server files. Type:
- Install CS2 Server Files:
- Now, install the CS2 server files with this command:
app_update 730 validate. This might take a bit of time, depending on your internet speed.
- Now, install the CS2 server files with this command:
Step 3: Configure Your CS2 Server
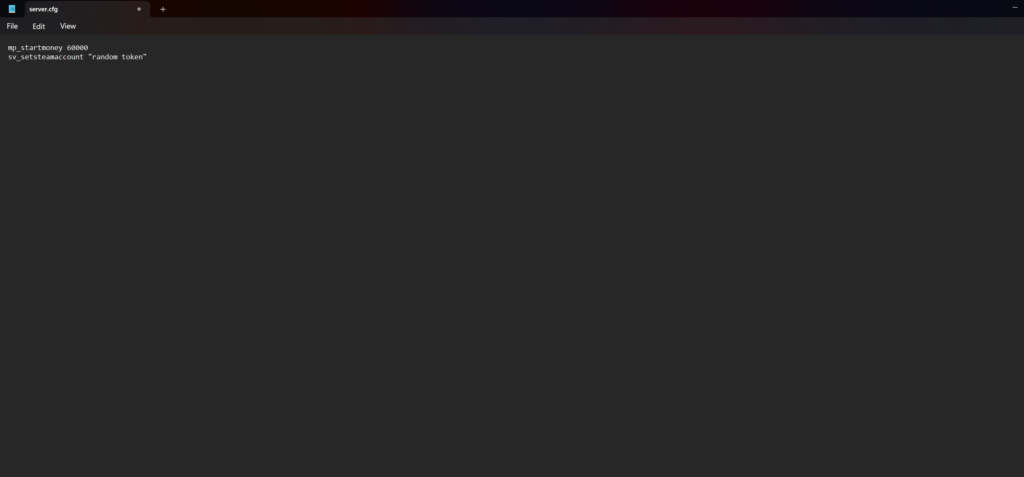
Now that you’ve got the server files, it’s time to configure your server. This step is where you decide how the server will run.
- Find the Configuration File:
- Go to
C:\cs2-server\csgo\cfgand look for a file namedserver.cfg. If it’s not there, you can create it using Notepad or another text editor.
- Go to
- Edit the Configuration:
- Open
server.cfgand start adding your settings. For example, you can set the starting money for players with this line:mp_startmoney 60000. - Other settings might include server name, passwords, or specific game modes. There’s plenty of flexibility here, so feel free to customize it to your liking.
- Open
- Generate a GSLT (Game Server Login Token):
- To make your server visible to others, you’ll need a GSLT. You can generate one by logging into your Steam account and visiting this page.
- Add the token to your
server.cfgfile like this:sv_setsteamaccount "YOUR_GSLT_TOKEN".
Also Check: How to Get Keys in CS2?
Step 4: Port Forwarding
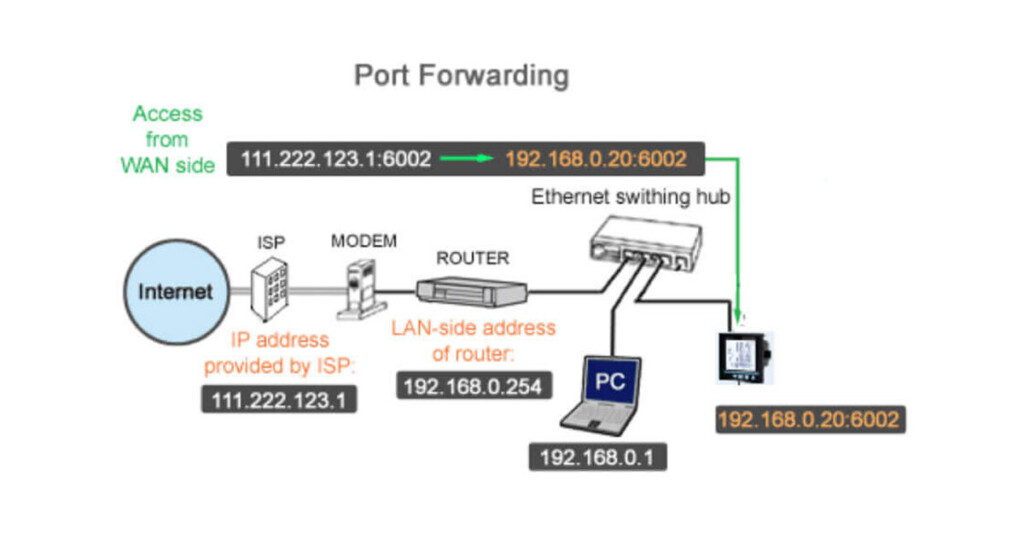
If you want others to join your server from different locations, you’ll need to set up port forwarding on your router. This sounds tricky, but here’s how you do it:
- Log into Your Router:
- Open a web browser and enter your router’s IP address. This is usually something like
192.168.1.1or192.168.0.1. - Log in with your router’s username and password. If you haven’t changed these, they’re probably written on the router itself.
- Open a web browser and enter your router’s IP address. This is usually something like
- Find the Port Forwarding Section:
- Look for a section called “Port Forwarding” or “Virtual Server.” The exact name and location can vary depending on your router model.
- Set Up the Forwarding:
- Forward the UDP port
27015to your server’s local IP address (the address of the computer running the server). - This step ensures that players can connect to your server over the internet.
- Forward the UDP port
Step 5: Starting the Server
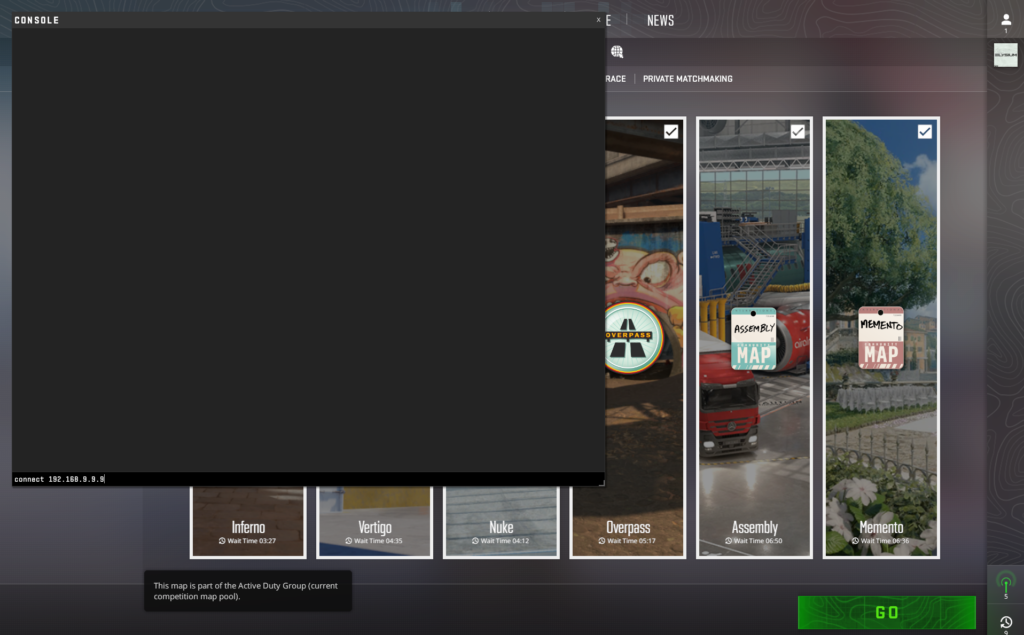
You’re almost there! Now, let’s get the server up and running:
- Launch the Server:
- Go to the
C:\cs2-serverfolder and look forcs2.exe. You’ll want to run it with some specific command-line parameters. For example:cs2.exe -dedicated +ip 0.0.0.0 -port 27015 +map de_dust2 -maxplayers 16 - Replace the IP, port, map, and max players with your desired settings.
- Go to the
- Join the Server:
- Once the server is running, you can join by opening CS2, going to the console, and typing
connect your_server_ip. Your friends can do the same to join in on the fun!
- Once the server is running, you can join by opening CS2, going to the console, and typing
Also Check: How to Play CS2 on Linux?
Step 6: Managing and Maintaining Your Server
Congrats on setting up your server! But remember, the work doesn’t stop there. Here are a few tips to keep things running smoothly:
- Update Regularly: Periodically run SteamCMD again and use
app_update 730to make sure your server stays up to date. - Monitor Performance: Keep an eye on how the server performs, especially if it starts getting popular.
- Consider Automation: If you’re running multiple servers or want to make your life easier, you might look into automation scripts or tools like Docker to manage your server more efficiently.
Conclusion
Setting up your own CS2 server might seem like a big task, but with a bit of patience and this guide, you’ll have it up and running smoothly. Once everything is configured and maintained, you’ll have a great platform for you and your friends to enjoy custom games, practice, or host community matches.
Frequently Asked Questions
You can host a CS:GO server by setting up SteamCMD, downloading the server files, configuring your settings in the server.cfg file, and forwarding the necessary ports on your router.
To host a CS2 custom game, set up a dedicated server with the necessary configurations, then use the server console to load custom maps and game modes.
Hosting your own server involves preparing your machine, installing the required software (like SteamCMD), configuring the server settings, and setting up port forwarding for online play.
Yes, CS2 allows custom servers. You can set up your own dedicated server with custom settings, maps, and modes to play with friends or the community.


