Rust thrives on its multiplayer chaos. Setting up a private server allows you to create a tailored experience for you and your friends.
A private Rust server lets you control settings, mods, and player access, creating an environment free from random griefers.
This guide covers the process step by step, including requirements, installation, configuration, and troubleshooting, based on Facepunch’s documentation and community insights.
📑 Table of Contents
Prerequisites for Making a Private Rust Server

Here is where you should start:
Hardware
At least 8 GB RAM (16 GB recommended), a quad-core CPU, and a stable internet connection of 100 Mbps upload/download for 10–20 players. For larger servers, consider a dedicated host like AWS, DigitalOcean, or GTX Gaming.
Operating System
Windows or Linux (Ubuntu recommended). This guide focuses on Windows, but Linux steps are similar.
Software
SteamCMD (Valve’s command-line tool). You’ll also need basic familiarity with command prompts or terminals.
Rust Game
A valid copy of Rust on Steam for server management and testing.
Step 1: Install SteamCMD
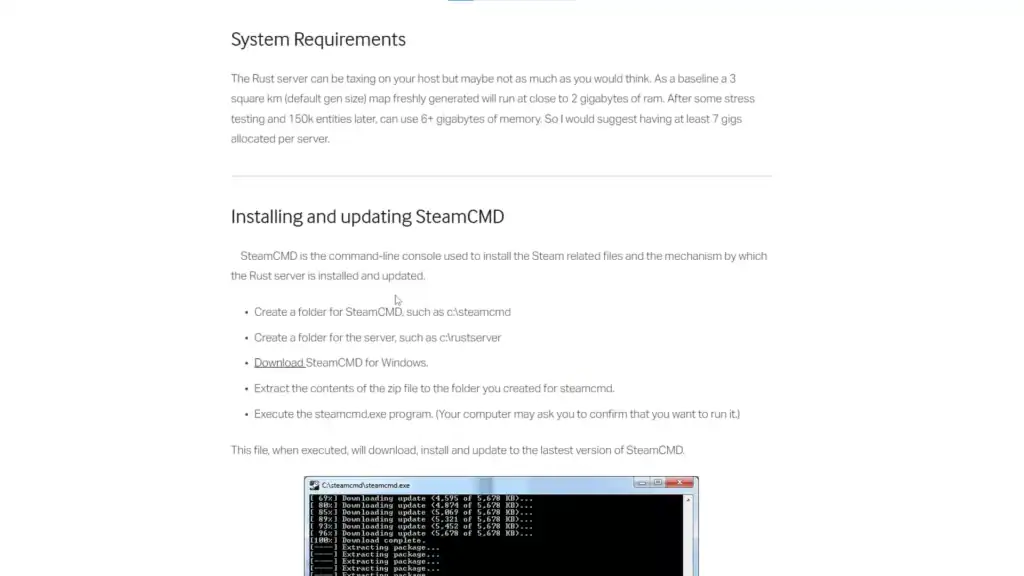
At these step, you need to perform these actions:
Download SteamCMD
Get SteamCMD for Windows from Valve’s official developer community page. Extract steamcmd.exe into a folder such as:
C:\SteamCMD
Run SteamCMD
Double-click steamcmd.exe. It will update automatically and open a command window showing:
Steam>
Step 2: Download Rust Server Files
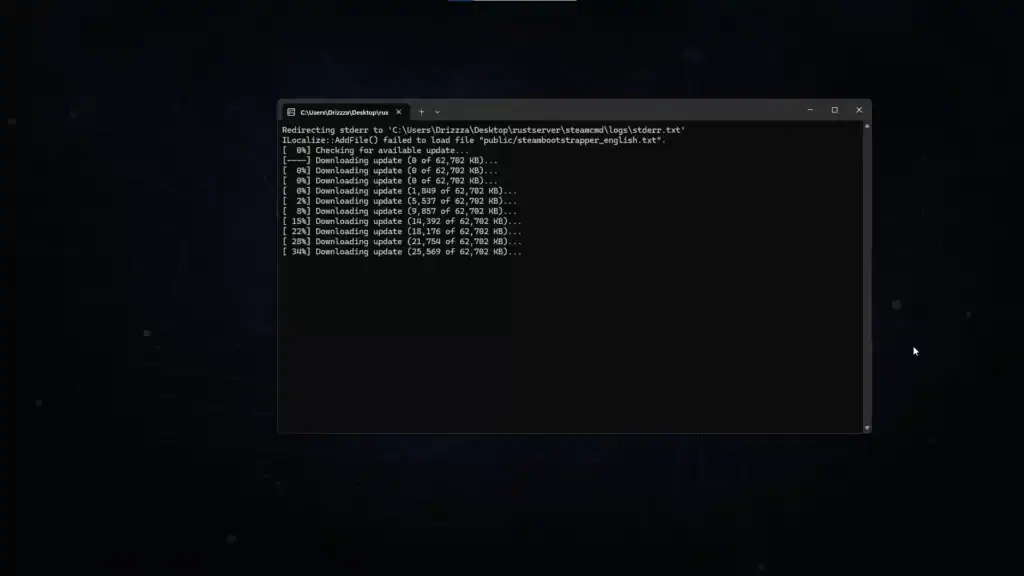
At these step, you need to perform these actions:
Log In
At the Steam> prompt, type:
login anonymous
Set Installation Directory
Choose a folder for your Rust server, for example:
force_install_dir C:\RustServer
Download Files
Use the App ID for the Rust server:
app_update 258550 validate
When the download finishes, exit SteamCMD with:
quit
Step 3: Configure Your Server
At these step, you need to perform these actions:
Create a Batch File
Inside your server folder (C:\RustServer), create a file named start_server.bat and add:
RustDedicated.exe -batchmode +server.port 28015 +server.level "Procedural Map" +server.seed 12345 +server.maxplayers 50 +server.hostname "My Private Rust Server" +server.identity "my_server" +rcon.port 28016 +rcon.password "yourpassword" +rcon.web 1
Customize Settings
server.hostname: your server’s nameserver.seed: map generation seed numberserver.maxplayers: number of playersrcon.password: secure password for admin access
Make It Private
To restrict access with a password, add this line to your batch file:
+server.secure 1 +server.password "yourpassword"
For more control, use Oxide mods with a whitelist.
Step 4: Launch the Server
Double-click start_server.bat. A console window will open with initialization logs.
Make sure your firewall allows connections on:
- 28015 (game traffic)
- 28016 (RCON admin access)
In Windows Firewall, allow RustDedicated.exe and open the necessary TCP/UDP ports.
Step 5: Install Mods with Oxide (Optional)
Download Oxide for Rust from the uMod website. Extract the files into your server folder, overwriting existing ones.
Restart the server. Now you can add plugins like Whitelist, Better Chat, or Admin Tools by placing them in the oxide/plugins folder. Configuration files appear in oxide/config.
Step 6: Connect to Your Server
At these step, you need to perform these actions:
In-Game Server Browser
Open Rust, go to the Community tab, and search for your server’s name.
Direct Connection
Press F1 in-game and type:
client.connect localhost:28015
(for local hosting) or
client.connect <your_public_IP>:28015
Sharing with Friends
Give them your public IP and port number. If your server is password-protected or whitelisted, share those details securely.
Troubleshooting
Here are some basic problems that you might face and what you should do to solve them:
Server Not Visible
Check firewall rules, port forwarding, and confirm IP and port settings. Restart both Steam and the server.
Crashes or Lag
Increase RAM allocation or consider a dedicated server. For 20+ players, community insights suggest 16 GB RAM minimum.
Mod Problems
Ensure Oxide and plugins are updated. For plugin issues, refer to uMod’s support forums.
Conclusion
Setting up a private Rust server involves downloading files with SteamCMD, configuring a batch file, opening firewall ports, and customizing your setup. With optional mods like Oxide, you can fully control who joins and how the server behaves.
Whether you want a peaceful sandbox or intense PvP battles, a private server gives you freedom, control, and a fun environment to enjoy Rust with your friends.
FAQs
Do I need to buy another copy of Rust to host a private server?
No. You only need one copy of Rust to play and manage the server. The server files are free and downloadable via SteamCMD.
Can I run a Rust server on my regular PC?
Yes, but performance depends on your hardware. For small groups (up to 10 players), a decent gaming PC can handle it. For larger groups, a dedicated server is recommended.
How do I keep strangers from joining my server?
You can add a password in your server’s batch file or install Oxide with a whitelist plugin. This ensures only approved players can connect.
Do I need to forward ports to host a private Rust server?
Yes. At minimum, open ports 28015 (game traffic) and 28016 (RCON). Without port forwarding, friends outside your local network won’t be able to join.
Can I install mods on a private Rust server?
Yes. Using Oxide (uMod), you can add plugins like Whitelist, Better Chat, or Admin Tools. Mods enhance customization and improve server management.


