Steam, Valve’s popular gaming platform, makes it easy to capture in-game moments with a simple key press, usually F12 by default. But once you’ve snapped those epic headshots or stunning vistas, where do they go?
Finding your saved screenshots is straightforward, whether you want to access them locally on your computer or through Steam’s cloud-based interface.
This guide covers the default Steam screenshot folder location, how to navigate to it, and tips for managing your captures across multiple games.
Table of Contents
Accessing Screenshots via Steam Client
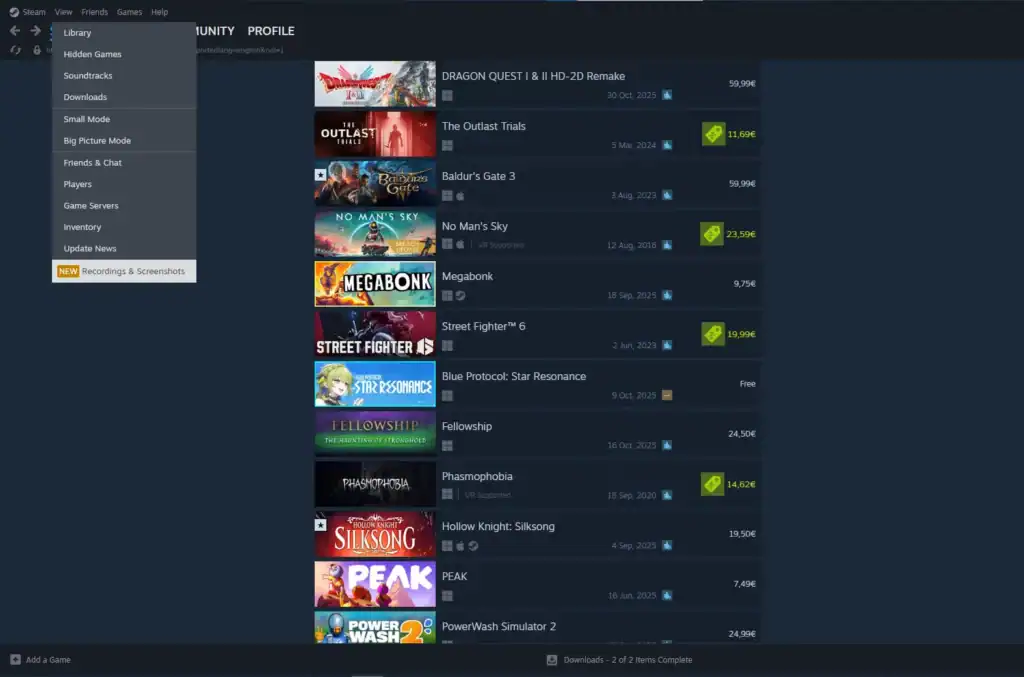
The simplest way to view and manage screenshots is within the Steam app itself:
Launch the Steam application on your computer and sign in to your account to access your game library and settings.
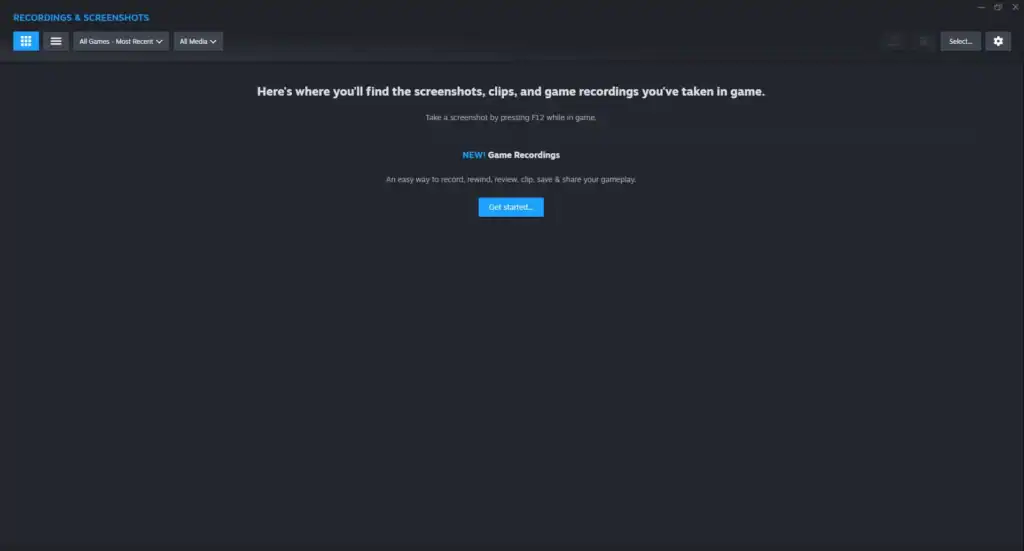
Click View in the top menu bar and select Screenshots to open the Screenshot Uploader window within Steam.
While in-game, press Shift + Tab to open the Steam Overlay, then click View Screenshots to access your captures instantly.
This opens the Screenshot Uploader window, showing thumbnails organized by game. From here, you can:
Easily upload your screenshots to your Steam Cloud profile to access them from any device or share with friends.
Save your favorite screenshots directly to your local drive for editing, backup, or offline viewing.
Share your captures directly to the Steam Community or copy them to your clipboard for quick posting elsewhere.
Clean up your screenshot library by easily removing duplicates or unneeded captures directly from the uploader.
Steam automatically saves screenshots in two places: locally on your hard drive and (if uploaded) in the cloud. Even if you don’t upload, local copies remain unless manually deleted.
Default Steam Screenshot Folder Location
By default, Steam stores screenshots in a structured folder tied to your Steam user ID and game AppID. The path varies slightly by operating system.
Windows
C:\Program Files (x86)\Steam\userdata\[YourSteamID]\760\remote\[GameAppID]\screenshots\
macOS
~/Library/Application Support/Steam/userdata/[YourSteamID]/760/remote/[GameAppID]/screenshots/
Linux (Steam Deck included)
~/.steam/steam/userdata/[YourSteamID]/760/remote/[GameAppID]/screenshots/
Note: The
~represents your home directory.
Key Folder Breakdown
Unique to your Steam account. Find your SteamID at steamid.io or in Steam → Help → System Information.
A fixed directory number that Steam uses exclusively for storing screenshot data for all games.
Each game gets its own subfolder based on its AppID — e.g., Counter-Strike 2 = 730, Dota 2 = 570.
Stores all image files, typically in .jpg format, named by timestamp (e.g., 20231101123456_1.jpg).
💡 Pro Tip: Enable “Save an uncompressed copy” in Steam settings (Steam → Settings → In-Game → check the box) to get high-quality PNGs alongside compressed JPGs.
How to Find Your SteamID and Game AppID Quickly
Go to your Steam profile → right-click the page → choose Copy Page URL → paste it into steamidfinder.com to see your full SteamID details.
Right-click a game in your Steam Library → select Manage → Browse local files → check the Steam URL, which ends with ?appid=XXXXX.
Changing the Screenshot Folder (Optional)
Want to save screenshots elsewhere (e.g., on an external drive)?
In the Steam client, go to Steam → Settings → In-Game to access your screenshot and overlay options.
Click Screenshot Folder and choose your preferred directory. Steam will save future screenshots there automatically.
All future screenshots will go there—organized by game in subfolders.
Existing screenshots stay in the old location unless moved manually.
Recovering Deleted or Missing Screenshots
Look in your system’s Recycle Bin (Windows) or Trash (macOS/Linux) — your deleted screenshots may still be recoverable there.
If your screenshots were uploaded to the Steam Cloud, open the Screenshot Uploader and redownload them to your device.
If the screenshots were permanently deleted, try tools like Recuva (Windows) or similar recovery software to restore lost files.
Bonus: Keyboard Shortcuts & Settings
Go to Steam → Settings → In-Game to customize your screenshot hotkey according to your preference.
Turn on the notification sound and on-screen flash to get immediate confirmation each time a screenshot is captured.
Capture your entire screen system-wide by pressing Windows + PrintScreen. Screenshots save automatically to Pictures → Screenshots.
Conclusion
Whether you’re hunting for that perfect clip or organizing a portfolio, Steam’s screenshot system is robust and user-friendly.
Start with the in-client viewer for quick access, then dive into the default folder path when you need raw files. With cloud sync and customizable storage, your gaming memories are always within reach.
FAQs
1. Where can I find my Steam screenshots on PC?
You can find your screenshots in:C:\Program Files (x86)\Steam\userdata\[YourSteamID]\760\remote\[GameAppID]\screenshots\
You can also access them directly in the Steam client by going to View → Screenshots.
2. How do I change the Steam screenshot save location?
Go to Steam → Settings → In-Game, then click Screenshot Folder and choose a new directory. Future screenshots will be saved there automatically.
3. What file format are Steam screenshots saved in?
By default, Steam saves screenshots as JPG files. You can enable “Save an uncompressed copy” in Steam → Settings → In-Game to also save PNG versions for higher quality.
4. Can I recover deleted Steam screenshots?
Yes. Check your Recycle Bin (Windows) or Trash (macOS/Linux). If uploaded to the Steam Cloud, you can redownload them from the Screenshot Uploader. Otherwise, use recovery tools like Recuva.
5. Why can’t I see my screenshots in the Steam client?
This usually happens if you’re logged into a different Steam account or if the game was played in offline mode. Check your userdata folder for multiple SteamIDs and verify you’re viewing the correct one.


