Let’s talk about crosshairs in Counter-Strike 2 (CS2), and more specifically, crosshair maps. It’s amazing how much difference a well-tuned crosshair can make. But tweaking it by typing commands one by one? That’s a pain. So, I rely on crosshair maps to make the process a breeze, and I’ll walk you through how to make the most of them.
What are Crosshair Maps?
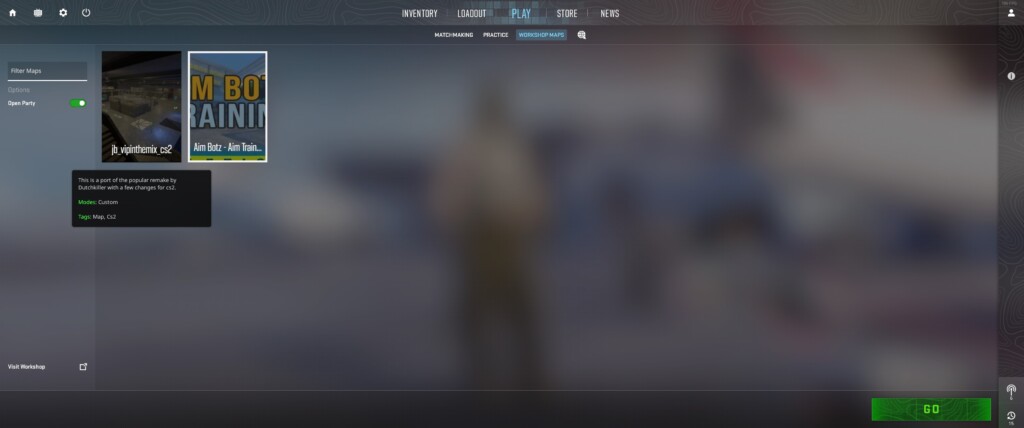
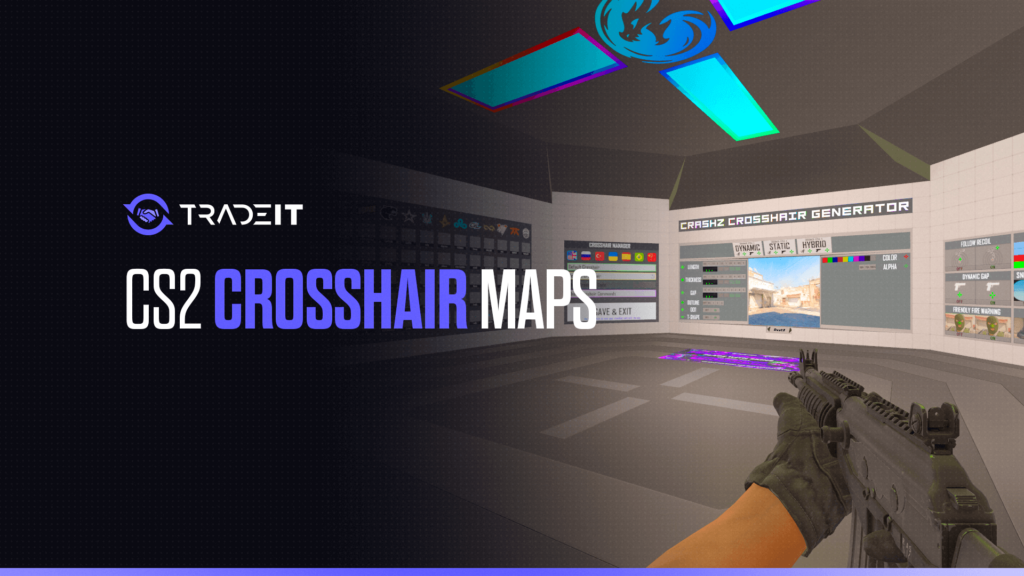
Crosshair maps are custom maps in CS2 designed to help you quickly and easily adjust your crosshair settings. Instead of typing commands into the console manually or navigating complicated settings menus, you simply load up one of these maps, and they provide an interface to tweak your crosshair with instant visual feedback.
What I love about these maps is how user-friendly they are. Whether you’re new to CS2 or a seasoned player, using a crosshair map makes it easy to experiment with different crosshair styles and sizes without the hassle. Plus, if you’re someone who prefers visuals over memorizing commands, this is the way to go.
Also Check: CS2 Maps Callouts
How Crosshair Maps Work
When you load up a crosshair map, you’ll typically find an array of preset crosshairs displayed on the walls. You can shoot at the ones you like to instantly apply them. Most maps also let you adjust the finer details like thickness, gap size, and color with a simple shoot-to-select system. It’s as easy as point-and-click.
I’ve noticed that some crosshair maps also feature pro player presets. If you’re curious about what the pros are using, you can test their crosshairs on the spot and see if it suits your style.
How to Use a Crosshair Map
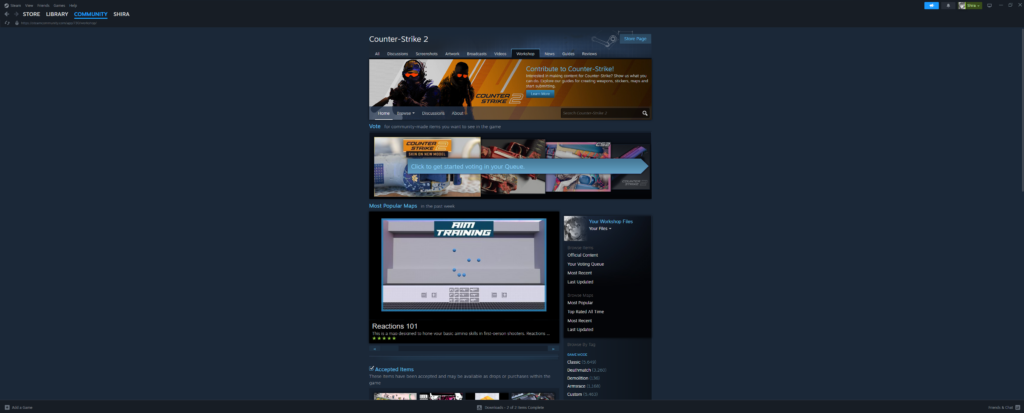
Here’s my go-to method for using a crosshair map efficiently:
- Subscribe and Download the Map: Open the Steam Workshop, find a crosshair map (just search “CS2 crosshair map”), and hit “Subscribe.” It’ll automatically download to your game.
- Launch the Map: Once downloaded, start up CS2, go to your ‘Workshop Maps’ under play, and select the crosshair map.
- Pick a Base Crosshair: Begin by browsing through the pre-made crosshairs. I usually shoot at a few presets just to get a feel for the different styles.
- Fine-Tune Your Settings: Once you find a crosshair style you like, you can fine-tune its attributes—thickness, gap, length, outline, and color. This part is crucial. I recommend testing it against the map’s targets to make sure it feels good in action.
- Test and Adjust in a Real Match: After you’ve settled on a crosshair, try it in a live game. You might find it needs minor tweaks depending on the map or weapon you’re using. The beauty of crosshair maps is that you can hop back in and adjust whenever you need.
Also Check: Simple Fixes if CS2 Feels Laggy
Why You Should Use a Crosshair Map
For me, the biggest advantage of using a crosshair map is time. Instead of typing out long commands like cl_crosshairsize 2 or cl_crosshairgap -1, I get to see exactly what I’m working with, make changes instantly, and test on the fly. Plus, you get to explore different styles that you might not have considered if you were tweaking settings manually.
Another reason I love crosshair maps is the visual representation. When adjusting via the console, it’s easy to lose track of how each setting affects your crosshair. But in a map, it’s all laid out for you to see in real-time.
Popular Crosshair Maps
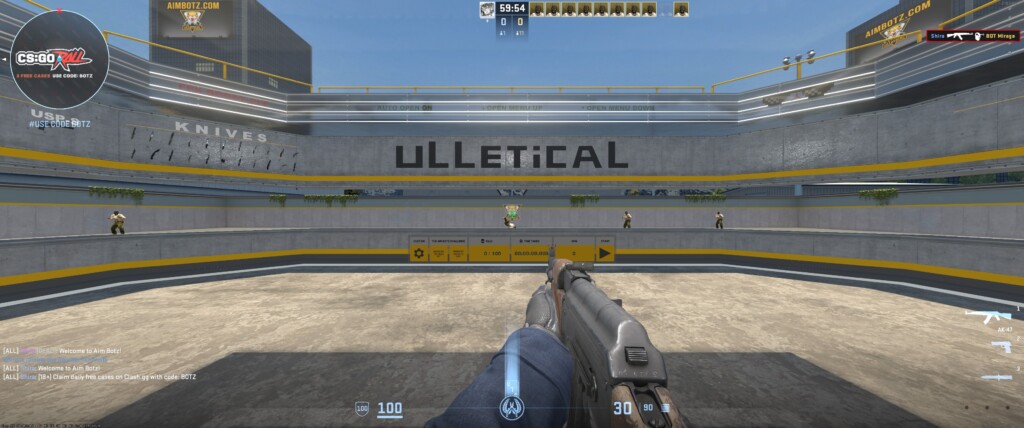
Now, I’ve tried a bunch of different crosshair maps, and here are a few I recommend:
- Crashz’s Crosshair Generator v3: This is probably the most well-known map. It’s updated regularly, user-friendly, and includes pro player crosshair settings, which is a huge plus.
- cl_crosshair Workshop Map: Another solid choice with a wide range of customization options and a clean interface.
- AimBotz – Training: While not solely a crosshair map, this one is great for testing crosshair settings while practicing aim. It’s a two-in-one tool that I often use.
Also Check: All You Need to Know About CS2 Armory Pass
Final Thoughts
Customizing your crosshair is one of the simplest yet most impactful adjustments you can make in CS2. With crosshair maps, you eliminate the guesswork and get to fine-tune your settings in a fun, visual way.
Frequently Asked Questions
You can find various crosshair maps in the CS2 Steam Workshop. Search for crosshair configuration maps, subscribe to them, and load them from your “Workshop” tab. These maps allow you to adjust and test crosshairs in different environments.
One of the most recommended maps includes various crosshair customization tools, where you can modify crosshairs and test them in different environments. You can search the Workshop for updated crosshair maps that fit your needs.
Use crosshair customization maps from the Workshop or adjust your crosshair in-game through the settings or console commands. Test different crosshair sizes, colors, and styles in practice to see what works best for your aim and visibility.
Yes, you can change your crosshair in CS2 by navigating to the in-game settings, using console commands, or loading a Workshop map that provides customization tools. Experiment with different crosshair options to find the best fit.


