In Rust, survival hinges on securing your base and protecting your loot from opportunistic raiders.
One of the most effective and low-maintenance defensive tools available to players is the Shotgun Trap. Affordable, deadly, and easy to place, it serves as an excellent early- to mid-game deterrent against intruders.
This article covers how to use the Shotgun Trap effectively, from crafting and placement to advanced strategies for base defense.
What Is the Shotgun Trap?
The Shotgun Trap is an automated defensive structure in Rust that fires 12-gauge buckshot shells at unauthorized players who pass through its detection area.
Unlike player-operated turrets, the Shotgun Trap functions without electricity, making it perfect for bases without complex power systems. It is particularly effective in narrow corridors and entryways, where intruders are funneled into its firing zone.
How the Shotgun Trap Works
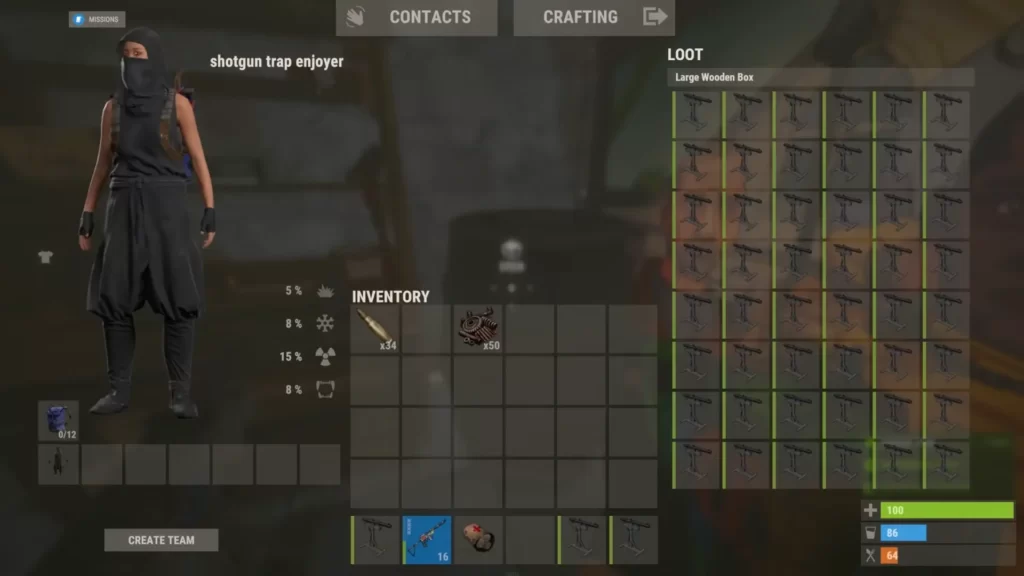
The trap activates automatically when it detects any unauthorized player within its narrow cone of vision. It uses standard 12-gauge shotgun shells, which must be loaded manually into its inventory. Each shot consumes one shell, and the trap can hold up to 128 shells.
It only targets players who are not authorized on the Tool Cupboard (TC), so teammates with proper building permissions are safe from accidental fire.
Crafting the Shotgun Trap
You’ll also need to have learned the blueprint, which can be found in Tier 2 Workbenches or unlocked through research.
Once crafted, equip it from your inventory and place it on a wall or ceiling. Make sure the firing zone points in the direction of the anticipated threat.
How to Place a Shotgun Trap in Rust
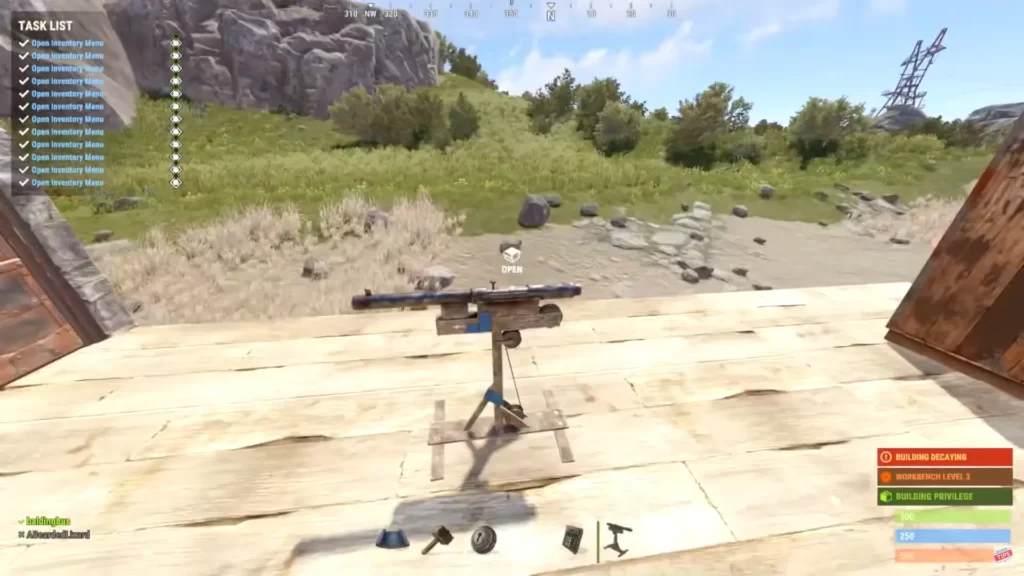
Placing a Shotgun Trap in Rust is a strategic process that can greatly enhance your base’s defense. Once crafted, choose your placement carefully. Ideal locations include airlocks, doorways, narrow hallways, or above loot rooms where enemies are likely to enter.
To place the trap, equip it from your inventory and look at the surface where you want it mounted. The Shotgun Trap must be attached to a wall or ceiling. It cannot be placed on the floor.
Most players prefer placing it on a ceiling just above a doorway or choke point, angled downward to catch intruders by surprise. This position maximizes both visibility and lethality.
After placing the trap, load it with 12-gauge buckshot shells by interacting with it and moving the ammo into its inventory. It can hold up to 128 shells at once.
The trap will automatically activate when unauthorized players (those not authorized on the Tool Cupboard) come into view.
Ensure the trap faces the direction you want it to fire—it has a narrow cone of vision. Also, make sure to test its angle and firing line to avoid blind spots. Proper placement turns this simple device into a deadly deterrent.
Best Practices for Placement
To get the most out of your Shotgun Trap, placement is everything. Here are some key tips:
Funnel Enemies into Narrow Spaces
The trap has a limited horizontal field of view, so placing it in tight corridors or airlocks maximizes its effectiveness. Hallways, doorways, and the tops of ladders are ideal.
Ceiling or High Wall Placement
Put the trap high on a wall or ceiling to prevent raiders from spotting and destroying it easily. This also prevents crouching or jumping enemies from dodging the detection area.
Use in Doors
Shotgun Traps work well in airlocks. If a raider blows through one door, they’re likely to walk right into the line of fire of a hidden trap before reaching the next.
Combine with Doors
Placing a trap just behind a door or garage door is effective. As raiders breach the door, they’re hit by a close-range blast. Add a delay or sound distraction (e.g., furnaces or doors) to mask its presence.
Base Interiors and Loot Rooms
For added security, place one inside your main loot room or sleeping quarters to deter deep raiders.
Reloading and Maintenance

The Shotgun Trap is not infinite. You’ll need to:
- Manually reload it with 12-gauge buckshot shells.
- Check regularly to make sure it’s still loaded, especially after raids or offline periods.
- Make sure it’s still intact and hasn’t been destroyed or disabled.
Consider pairing it with a TC-accessible box of shells nearby, so you or your teammates can quickly reload it.
Advanced Strategies
Here are some advanced strategies when using shotgun traps:
Bait and Ambush
Use a decoy loot room or a door left open with a visible box to lure raiders into a trap-protected hallway.
Layering Defenses
Combine Shotgun Traps with other defenses like flame traps, sentries, or auto turrets. While a Shotgun Trap is great for close-range control, it pairs well with longer-range or area-denial tools.
Hidden Detection
Some players place traps inside lockers or decorative deployables like shelves or signs to obscure them. While this takes experimentation, a disguised trap often surprises experienced raiders.
Summary
The Shotgun Trap is one of Rust’s most cost-effective and powerful base defenses, especially in the early stages of the game. With proper placement and upkeep, it can kill or seriously wound intruders before they get far.
Frequently Asked Questions
How do I craft a Shotgun Trap in Rust?
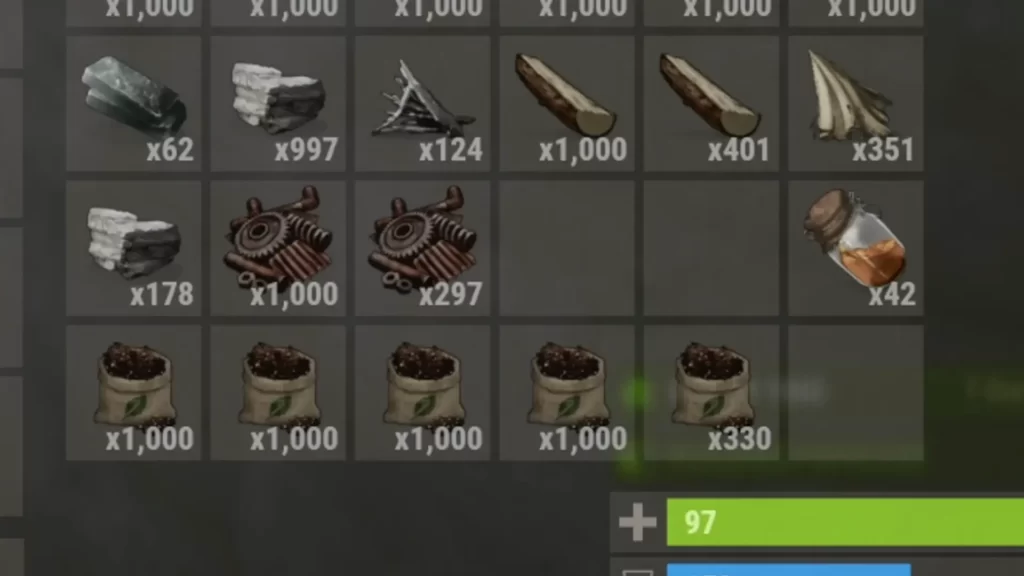
You need 500 Wood, 250 Metal Fragments, 2 Gears, and 2 Rope. Craft it using a Tier 2 Workbench after unlocking the blueprint.
Does the Shotgun Trap require electricity?
No. It operates automatically without electricity, making it ideal for early base defense.
Who does the Shotgun Trap shoot?
It targets players who are not authorized on the Tool Cupboard (TC), including enemies and trespassers.
What ammo does the Shotgun Trap use?
It uses 12-gauge buckshot shells. You must manually load them into the trap’s inventory.
Where should I place a Shotgun Trap?
Ideal spots include airlocks, tight hallways, above doors, or near loot rooms to maximize surprise and damage.
How many shells can it hold?
It can hold up to 128 shotgun shells at once, stored directly in its inventory.
Can teammates trigger the Shotgun Trap?
No, authorized players on the TC are immune to the trap and won’t trigger it.